Ever wondered why some espresso shots taste like a harmonious blend of flavors while others fall flat? The secret often lies in a small but mighty step known as pre-infusion. What is Pre-infusion you ask? It is the initial phase where water gently saturates the coffee grounds at a low pressure before the full brewing pressure kicks in. This process might seem minor, but it plays a crucial role in enhancing the flavor and consistency of your espresso.
By allowing the coffee grounds to bloom and expand uniformly, pre-infusion helps prevent channeling—where water finds the easiest path through the coffee, leading to uneven extraction. This results in a more balanced and flavorful shot, whether you’re using a high-end commercial machine or a trusty home setup.
So, next time you pull a shot, don’t skip the pre-infusion. It’s the secret step that can elevate your espresso from good to extraordinary. Ready to brew like a pro? Let’s dive into the details of why pre-infusion matters and how you can master it.
What is Pre-infusion?
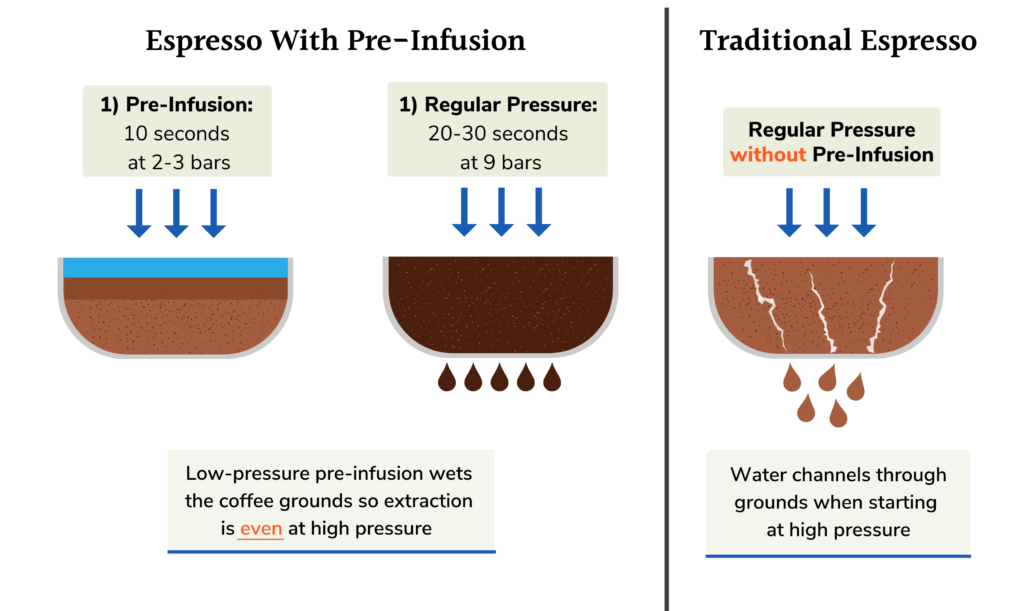
Pre-infusion is the initial stage where water is introduced to the coffee grounds at a lower pressure before the full brewing pressure is applied. This process helps in gently saturating the coffee puck, allowing it to expand and settle uniformly before the high-pressure extraction begins.
Why Does It Matter?
- Even Extraction: By pre-infusing, you minimize the risk of channeling, where water finds paths of least resistance and creates uneven extraction. A consistent pre-infusion ensures all coffee grounds are evenly saturated, leading to a balanced flavor profile.
- Enhanced Flavor: Proper pre-infusion results in a more flavorful and aromatic espresso. The coffee grounds release trapped gases, and the flavors are more uniformly extracted, avoiding bitter or sour notes.
- Consistency: Whether you’re using a commercial machine or a home setup, pre-infusion can help you achieve consistent results. Many modern machines allow you to control the duration and pressure of pre-infusion, ensuring each shot is just right.
How to Implement Pre-infusion
On Commercial Machines
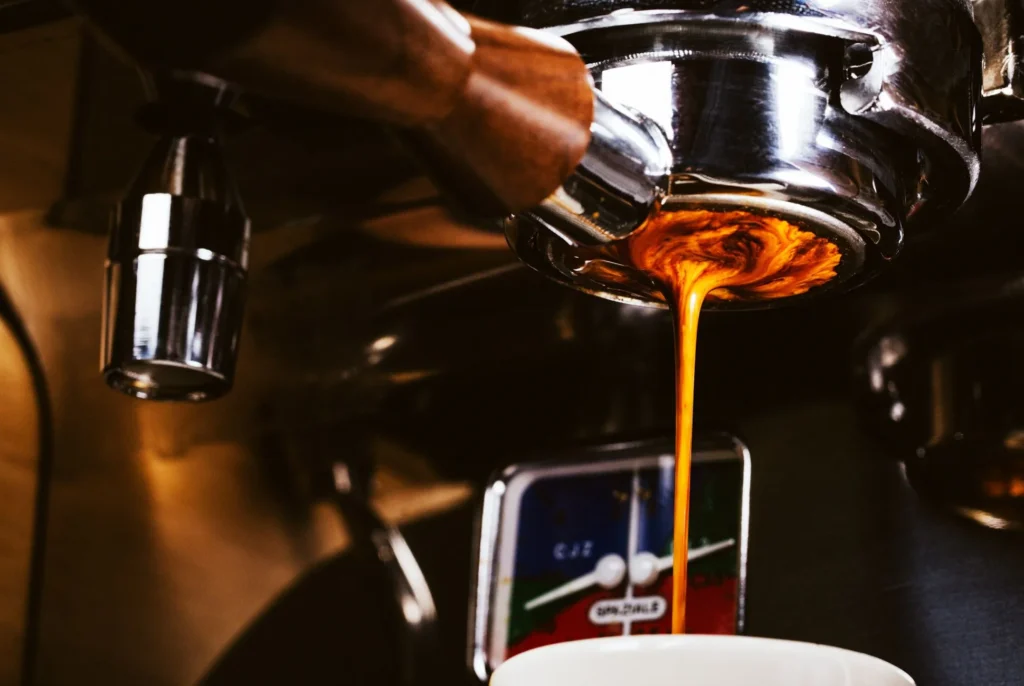
Most commercial espresso machines are equipped with adjustable pre-infusion settings, allowing baristas to fine-tune the time and pressure for optimal extraction. Here’s a step-by-step guide to utilizing pre-infusion on commercial machines:
- Prepare the Portafilter:
- Grind your coffee beans to the appropriate size.
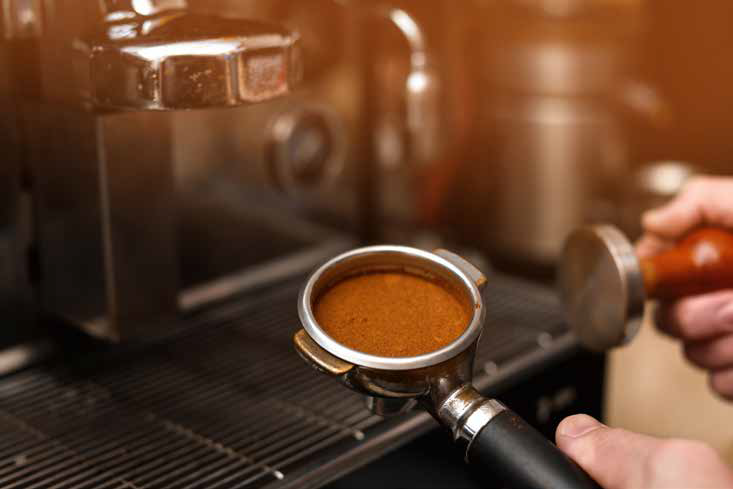
- Tamp the coffee evenly in the portafilter.
- Preheat the Group Head:
- Flush the group head with hot water to ensure it’s at the optimal temperature.
- Attach the Portafilter:
- Secure the portafilter into the group head.
- Initiate Pre-infusion:
- Lift the brew lever partway to open the pathway between the group head and the water inlet without engaging the pump. This allows water to flow at low pressure from the boiler to the coffee puck.
- The pre-infusion time typically ranges from 2 to 8 seconds, depending on your machine and coffee type.
- Monitor the Saturation:
- Observe the coffee puck as it begins to swell and saturate evenly.
- Engage Full Pressure:
- After the pre-infusion time has elapsed, fully engage the brew lever to initiate the high-pressure extraction. This step uses the full 9 bars of pressure to extract the espresso.
- Complete the Extraction:
- Allow the espresso to brew for the desired extraction time, typically 25-30 seconds for a double shot.
On Home Machines
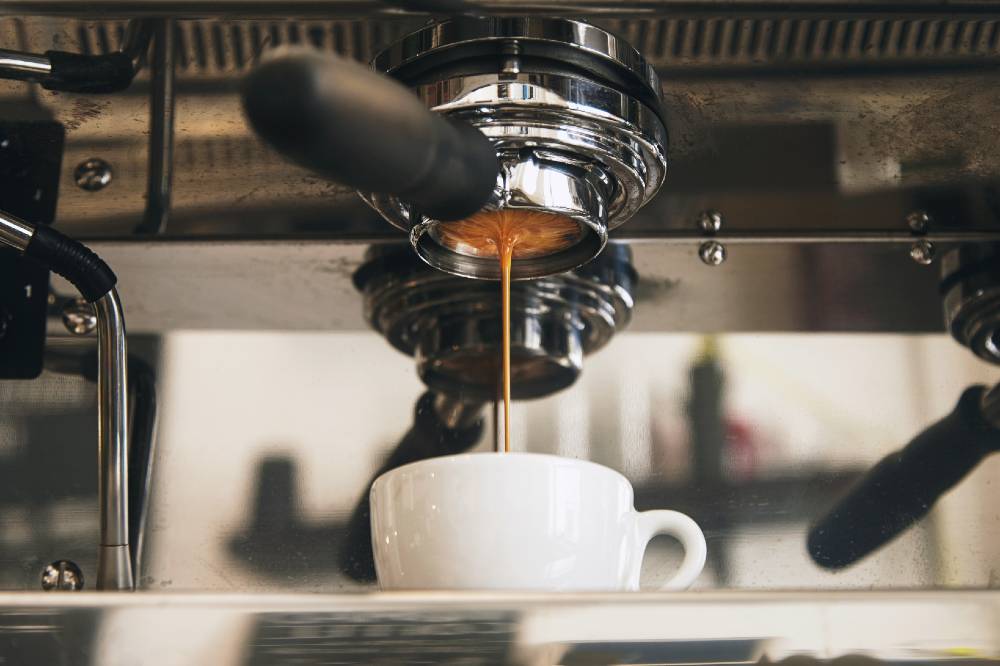
High-end home espresso machines often include pre-infusion features, but even if your machine lacks this function, you can manually mimic the process. Here’s a step-by-step guide for both built-in and manual methods:
Built-in Pre-infusion Feature
- Prepare the Portafilter:
- Grind and tamp your coffee as usual.
- Preheat the Group Head:
- Run hot water through the group head to ensure it’s properly heated.
- Attach the Portafilter:
- Secure the portafilter into the group head.
- Activate Pre-infusion:
- Follow your machine’s specific instructions to activate pre-infusion. This usually involves pressing a pre-infusion button or setting a specific mode.
- Let the pre-infusion run for the recommended time (2-8 seconds).
- Proceed to Extraction:
- Once pre-infusion is complete, the machine will automatically switch to full-pressure extraction.
Manual Pre-infusion Method
- Prepare the Portafilter:
- Grind and tamp your coffee as usual.
- Preheat the Group Head:
- Run hot water through the group head to ensure it’s properly heated.
- Attach the Portafilter:
- Secure the portafilter into the group head.
- Start the Brew Cycle:
- Begin the brew cycle and allow water to flow through the coffee puck for a few seconds (2-4 seconds).
- Pause the Brew Cycle:
- Stop the brew cycle and let the coffee puck soak for a few more seconds to ensure even saturation.
- Resume the Brew Cycle:
- Restart the brew cycle to engage full pressure and complete the extraction.
- Complete the Extraction:
- Allow the espresso to brew for the desired extraction time, typically 25-30 seconds for a double shot.
How Long Should Pre-infusion Take?
The ideal pre-infusion time varies, typically ranging from 2 to 8 seconds. This depends on your specific espresso machine and the type of coffee you are using. The main goal of pre-infusion is to fully saturate the coffee puck without starting the extraction process prematurely.
Here’s how to approach it:
- Start with a Baseline: Begin with a shorter pre-infusion time, around 2 seconds, to see how the coffee responds.
- Observe the Saturation: Pay attention to how the coffee puck swells and becomes uniformly wet. If it seems to need more time, gradually increase the pre-infusion duration.
- Adjust Based on Coffee Type: Different coffees may require different pre-infusion times. For example, darker roasts might benefit from a longer pre-infusion to ensure even extraction, while lighter roasts might need less time.
- Experiment: Play around with the timings within the 2 to 8-second range to find what works best for your setup and taste preferences.
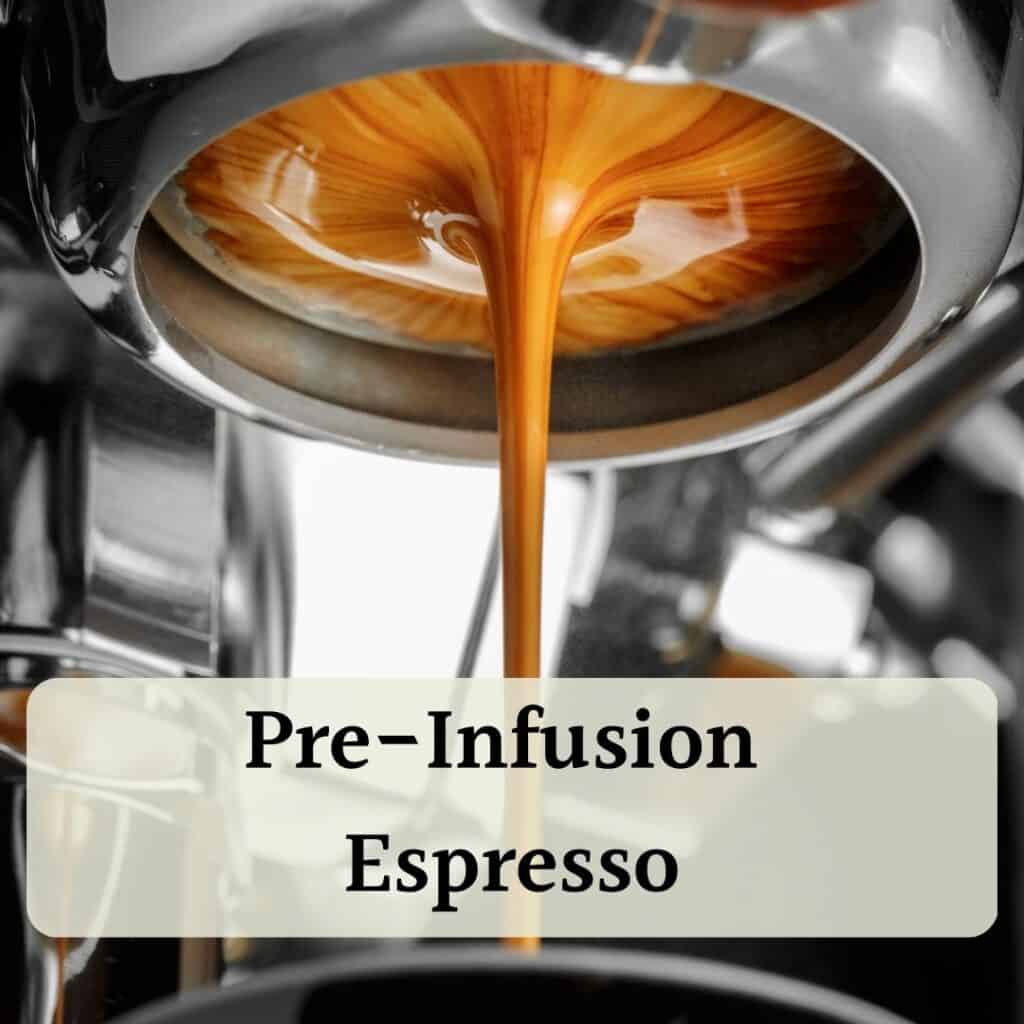
By experimenting with different pre-infusion durations, you can fine-tune your espresso shots to achieve optimal flavor and consistency.
Final Thoughts
Incorporating pre-infusion into your espresso routine can significantly improve the taste and consistency of your shots. It’s a small step that can make a big difference, turning a good espresso into a great one. So, next time you brew, give pre-infusion a try and taste the difference it makes!
Disclosure: Our blog contains affiliate links to products. We may receive a commission for purchases made through these links. However, this does not impact our reviews and comparisons. We try our best to keep things fair and balanced, in order to help you make the best choice for you.


6 Responses