
La Marzocco are known for their superior craftsmanship and precision, but to get the most out of these high-end espresso machines, it takes more than just the basics. In this guide, we’ll dive into La Marzocco Machines advanced usage tips, from perfecting your grind to upgrading key components. For comprehensive coverage, see our La Marzocco Guide: The Complete Guide. For comprehensive coverage, see our La Marzocco Espresso Machines: The Complete Guide.
⚡ Quick Answer
To master your La Marzocco machine, focus on precision grinding, temperature profiling, and upgrading key components like group heads or portafilters. Advanced techniques include dialing in extraction ratios, experimenting with pre-infusion timing, and maintaining consistent water temperature throughout the brewing process. These machines reward attention to detail – every variable from grind size to tamp pressure affects your final shot quality.
☕ How We Test
Every machine reviewed on Espresso and Machines has been physically tested by Jose Villalobos using standardized shot parameters: 18-20 grams of freshly ground coffee, 36-40 gram output, 25-30 second extraction time. We test with at least 3 different bean origins across light, medium, and dark roasts over a minimum 30-day period. Jose has tested 150+ machines since 2018 — starting with a cheap eBay machine and working up to $5,000+ prosumer setups. No sponsored content. No manufacturer talking points. Just real testing.
📊 Key Facts
- Fact: La Marzocco machines use precision grinding, temperature profiling, and component upgrades like group heads or portafilters for advanced operation
- Fact: Advanced La Marzocco techniques include dialing in extraction ratios and experimenting with pre-infusion timing
- Fact: La Marzocco machines require maintaining consistent water temperature throughout the brewing process
- Fact: Every variable from grind size to tamp pressure affects final shot quality on La Marzocco machines
- Fact: La Marzocco machines offer unparalleled precision, quality, and control for crafting perfect espresso
From nailing the perfect grind to upgrading components, you’ll get the know-how to pull shots like a pro and froth milk that’s silky smooth. Plus, if you’re into modding your machine for better performance, we’ve got tips for that too.
Forget the small talk, let’s level up your espresso game and make your La Marzocco truly shine.
Mastering Espresso with La Marzocco Machines Advanced Usage Tips
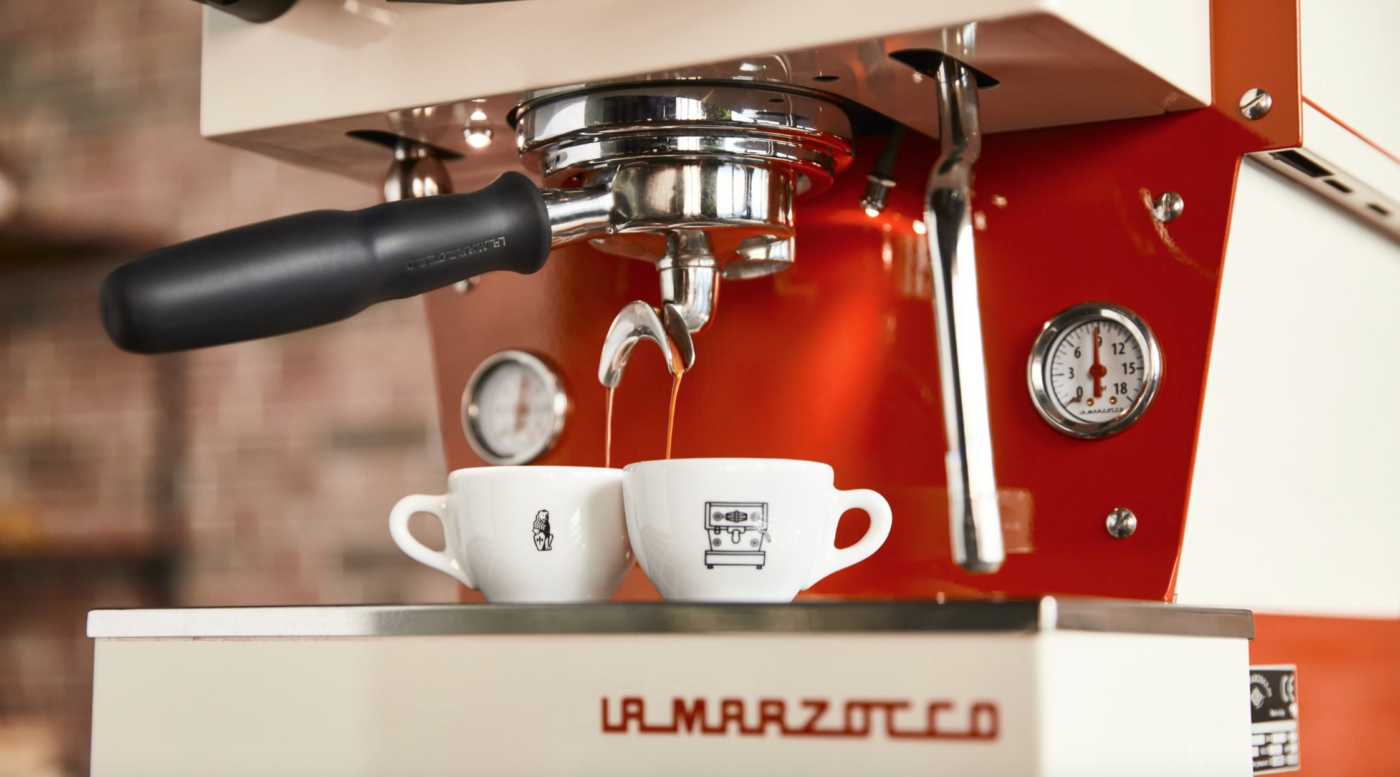
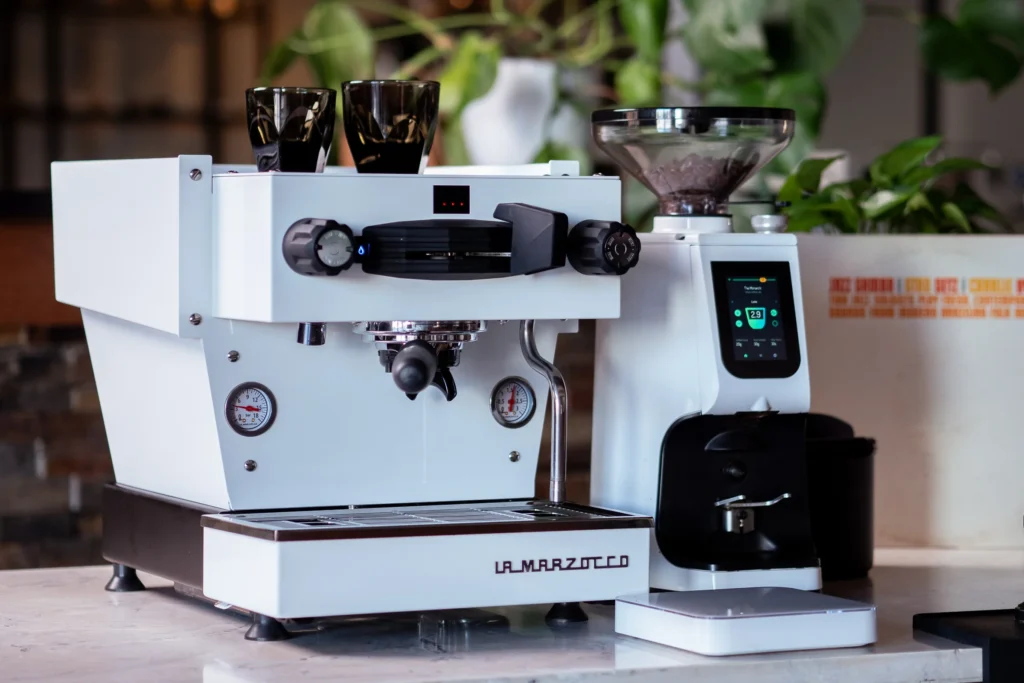
When it comes to crafting the perfect espresso, La Marzocco machines offer unparalleled precision, quality, and control. But if you want to go beyond the basics, there are some advanced techniques that can help you truly master your espresso-making skills. Whether you’re a seasoned barista or an at-home espresso enthusiast, understanding how to leverage your La Marzocco machine’s features can make all the difference.
While many espresso machines offer decent results right out of the box, La Marzocco machines are designed for users who want to fine-tune every element of the espresso-making process.
Mastering these machines means learning how to adjust every variable, from grind size to extraction time, to get the perfect shot every time. If you’re aiming for a rich ristretto or a balanced latte, the more you understand your machine, the better your results will be.
Key Features of La Marzocco Machines
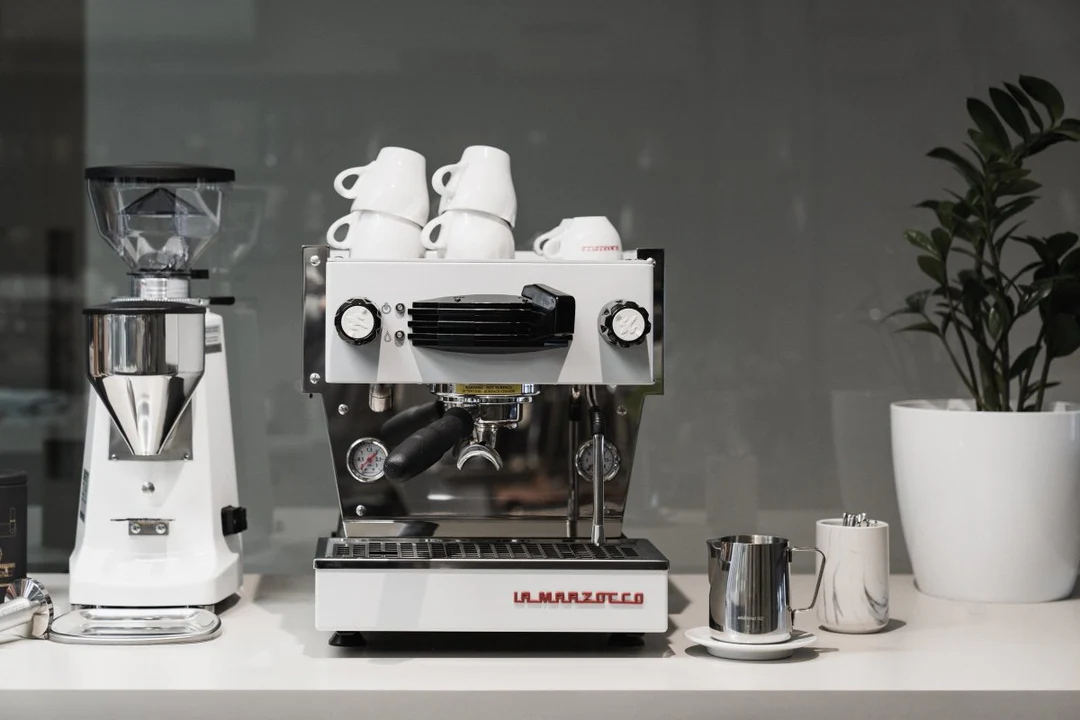
La Marzocco machines are built for professional use, but many models are available for home baristas who are serious about quality. Some of the standout features that allow for advanced usage include:
- PID Temperature Control: Ensures consistent water temperature for better flavor extraction.
- Pre-Infusion Capabilities: Allows for a gradual increase in pressure, which helps in better extraction and more balanced flavors.
- Dual Boilers: Separate boilers for steam and espresso, enabling simultaneous frothing and brewing for efficiency and precision.
Perfecting Your Grind
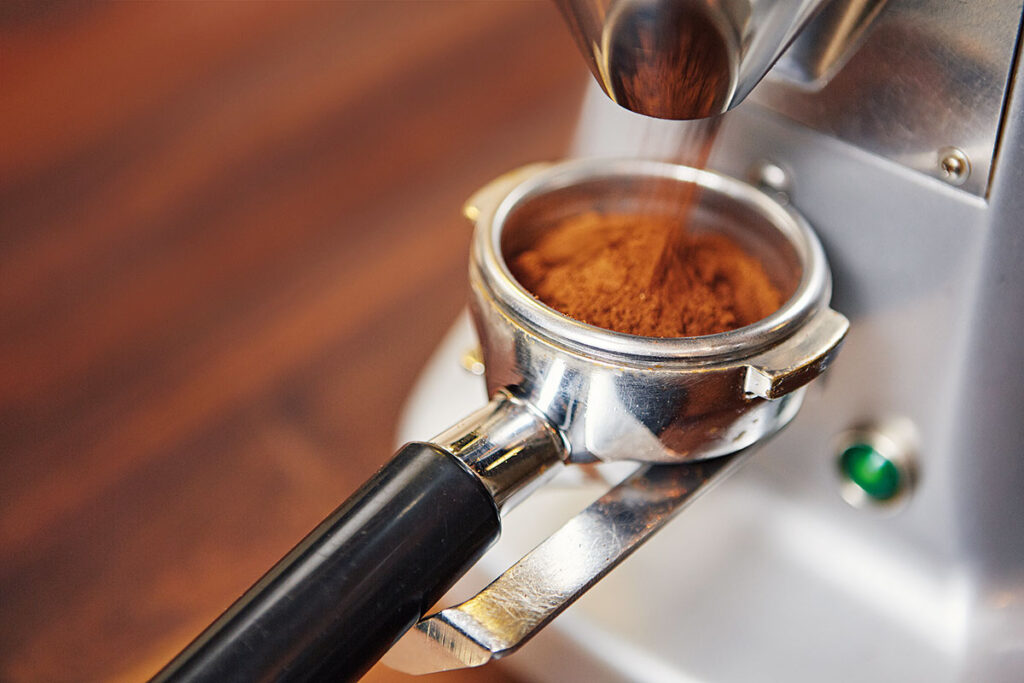
One of the most critical factors in making exceptional espresso is getting your grind size just right. The grind size impacts everything from the flavor balance to the extraction time, and with La Marzocco machines, you have the precision to dial it in perfectly. However, there’s no “one-size-fits-all” grind; it depends on factors such as the type of coffee beans, the roast level, and even environmental conditions like humidity.
Why Grind Size Matters
The grind size determines how much contact the water has with the coffee grounds during extraction. A grind that’s too fine will result in over-extracted, bitter espresso, while a grind that’s too coarse will lead to under-extraction, leaving your shot sour or watery. La Marzocco machines, with their professional-grade components, respond particularly well to minute adjustments in grind size, allowing you to control the entire brewing process with accuracy.
How to Find the Perfect Grind
Here’s a step-by-step approach to dialing in your grind size for La Marzocco machines:
- Start with a Medium-Fine Grind: If you’re unsure where to begin, start with a grind size that’s just finer than table salt. This is a good middle ground to work from.
- Adjust Based on Extraction Time: Pull a shot and note the time it takes to brew. For a standard double shot, you’re aiming for about 25-30 seconds. If it brews too quickly, your grind is too coarse; if it takes longer, it’s too fine.
- Fine-Tune Based on Taste: Don’t rely solely on timing—taste your espresso. If it’s bitter or harsh, adjust to a coarser grind. If it’s too sour or sharp, go finer.
- Consider the Coffee Bean and Roast Level: Darker roasts typically require a slightly coarser grind, while lighter roasts may need a finer setting to achieve optimal extraction.
Additional Tips for Consistent Grinding
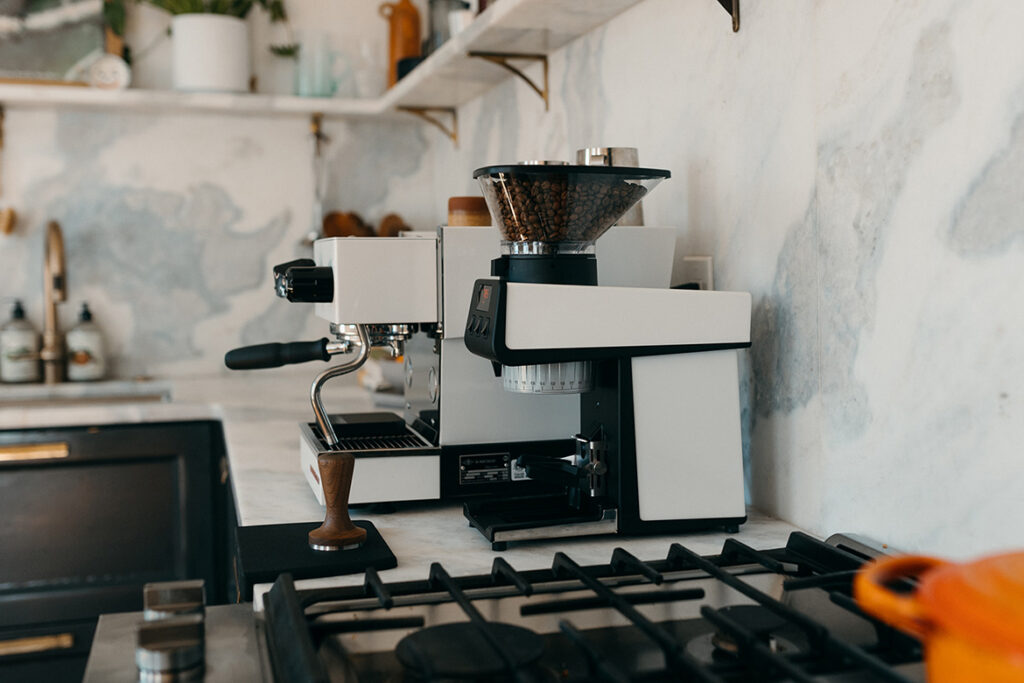
- Invest in a Quality Grinder: While La Marzocco machines are top-tier, your grinder plays an equally important role. Invest in a high-quality burr grinder for consistency. The grind should be uniform to ensure even extraction.
- Adjust Regularly: Factors like humidity and bean freshness can affect your grind. Don’t be afraid to tweak your settings daily to maintain consistency.
- Clean Your Grinder: Residual coffee oils and old grounds can affect your next grind. Regular cleaning is essential to keep your grinder in top condition and to ensure accurate results.
Mastering the grind for your La Marzocco machine will set the foundation for a perfect espresso shot. Once you’ve locked in the ideal grind size, you’ll be ready to move on to the next step—dialing in your espresso shots.
Dialing in Your Espresso Shots
Once you’ve perfected your grind, it’s time to dial in your espresso shots. This process is about balancing the key variables—grind size, water temperature, pressure, and shot timing—to extract the best possible flavor from your coffee beans. La Marzocco machines are equipped with advanced features that allow you to make precise adjustments, giving you complete control over your espresso.
What Does “Dialing In” Mean?
Dialing in refers to the process of tweaking the variables of your espresso-making routine to achieve the perfect shot. It’s a balance between the grind size, dose (amount of coffee), extraction time, and yield (amount of espresso). The goal is to find the sweet spot where all these factors come together to produce a well-balanced shot, full of flavor without bitterness or sourness.
Key Variables to Adjust
Here’s how you can start dialing in your shots on a La Marzocco machine:
- Dose (Coffee Amount):
- Start with a standard dose of 18-20 grams of coffee for a double shot.
- Weigh your coffee to ensure consistency. Even slight variations in the dose can affect the extraction time and flavor.
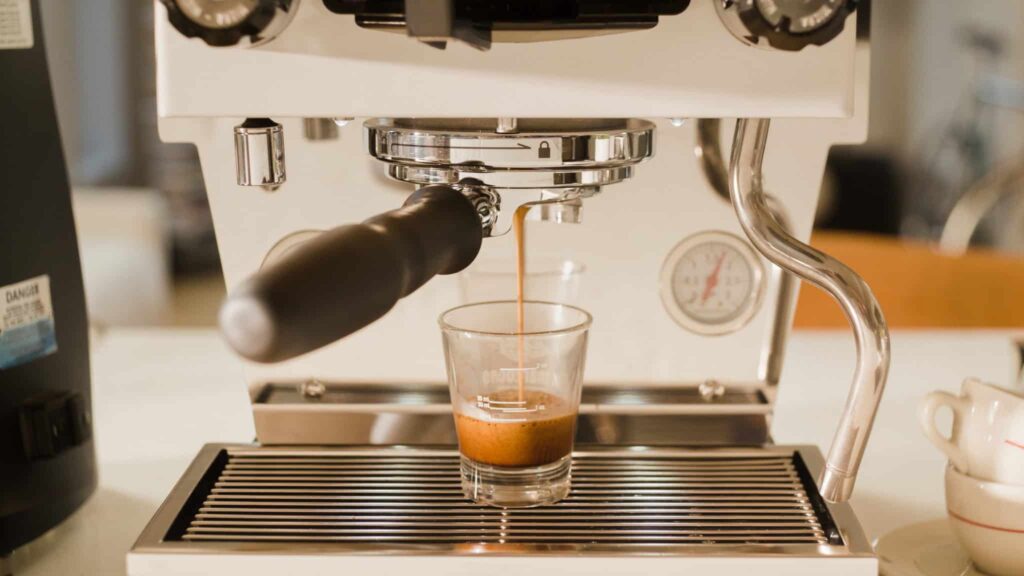
- Shot Timing:
- A typical double shot should take between 25-30 seconds from the moment you hit the brew button.
- If your shot pulls too quickly (under 25 seconds), it’s likely under-extracted, meaning you should either grind finer or increase your coffee dose.
- If it takes longer than 30 seconds, it’s likely over-extracted, and you should try a coarser grind or lower the dose slightly.
- Brew Ratio (Espresso Yield):
- Brew ratio is the ratio of coffee grounds to espresso yield. For a balanced espresso shot, a 1:2 ratio is common. For example, if you use 18 grams of coffee, aim for a 36-gram shot.
- You can play with this ratio depending on personal taste and the beans you’re using. For a more concentrated shot (ristretto), use a 1:1.5 ratio, while a lungo may have a 1:3 ratio.
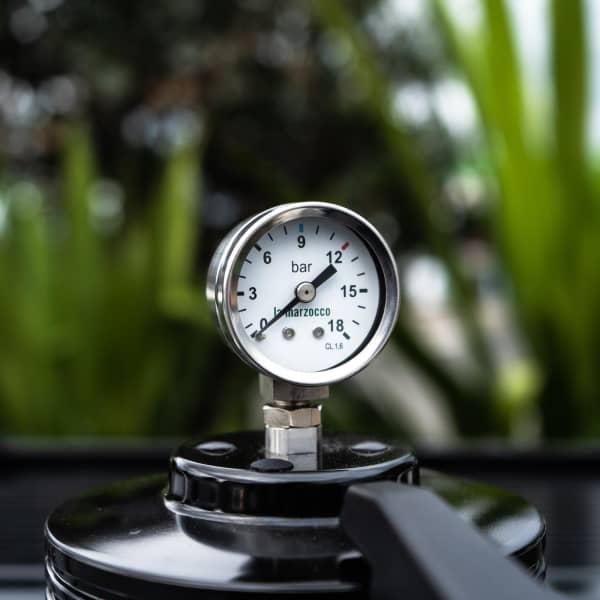
- Pressure and Temperature Adjustments:
- La Marzocco machines allow you to control pressure and temperature. A higher temperature (up to 200°F/93°C) can help extract more flavor from darker roasts, while a slightly lower temperature (around 195°F/90°C) works well for lighter roasts.
- Pressure profiling is another feature on some La Marzocco models, allowing you to control the pressure throughout the extraction. This adds another layer of precision to the process, helping to control extraction at different stages for more complex flavors.
Fine-Tuning Based on Taste
- If your espresso is too sour: It’s under-extracted. Try grinding finer or increasing the brew time to allow for more contact between the water and coffee.
- If your espresso is too bitter: It’s over-extracted. Coarsen the grind or reduce the brew time to avoid extracting too many bitter compounds from the coffee.
Consistency is Key
One of the main benefits of a La Marzocco machine is its ability to deliver consistent results once you’ve dialed in your shots. By keeping your grind, dose, timing, and other variables consistent, you’ll be able to pull a perfect shot every time. Remember to make small, incremental changes when dialing in—this precision is what makes La Marzocco machines stand out from the rest.
Frothing Milk Like a Pro
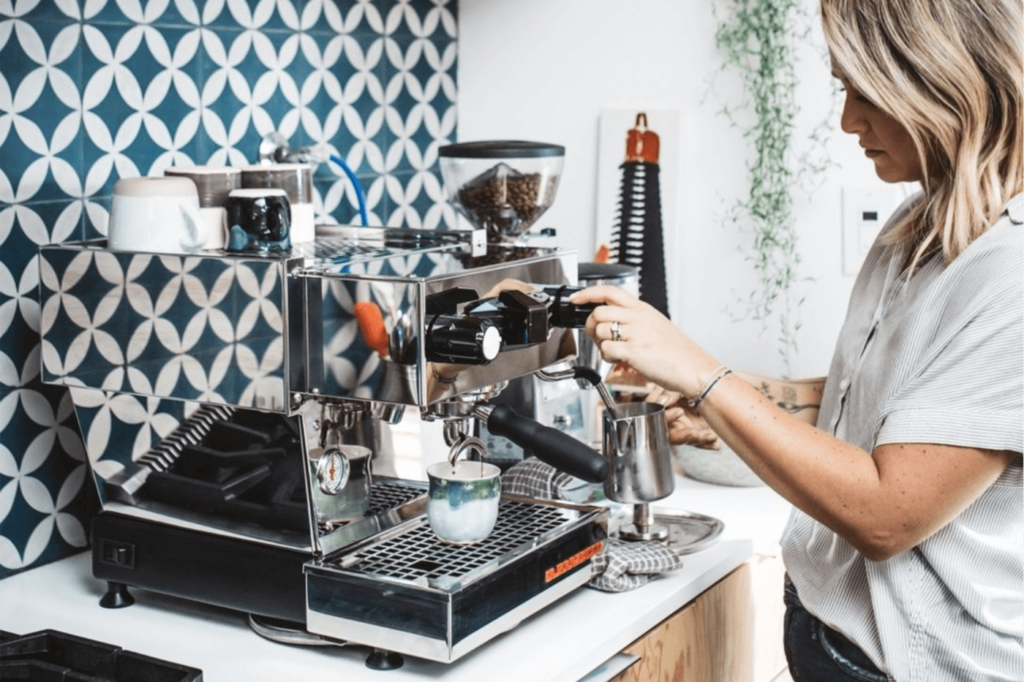
Creating the perfect microfoam is an art, and with La Marzocco’s powerful steam wands, you can froth milk to perfection—whether you’re aiming for silky lattes, frothy cappuccinos, or intricate latte art. The key is mastering temperature control, texture, and technique.

Understanding the Importance of Milk Frothing
Frothing milk isn’t just about creating foam; it’s about enhancing the texture of your milk so that it integrates perfectly with your espresso. The right milk texture brings out the natural sweetness of milk and blends smoothly with espresso, creating a harmonious balance of flavors.
Step-by-Step Guide to Frothing Milk with La Marzocco
- Start with Cold Milk:
- Always begin with fresh, cold milk. This gives you more time to stretch the milk (introduce air) before it reaches the optimal temperature.
- Whole milk is recommended for a creamier texture, but you can froth non-dairy alternatives like oat, almond, or soy milk with similar results, though the technique may vary slightly.
- Positioning the Steam Wand:
- Insert the steam wand just below the surface of the milk at a slight angle. The position of the steam wand is crucial because it helps introduce the right amount of air while creating a vortex to mix the milk evenly.
- Aim to create a gentle whirlpool in the pitcher as this helps to break up any large bubbles and ensures that the milk is textured smoothly.
- Steaming and Texturing:
- Stretching the Milk (Introducing Air): Begin by allowing the steam wand to add air into the milk. You should hear a soft hissing sound—this is the sound of air being incorporated. This should last just a few seconds (3-5 seconds for lattes, slightly longer for cappuccinos).
- Rolling the Milk (Heating and Texturing): After stretching, submerge the steam wand deeper into the milk and focus on heating the milk. The vortex created will continue mixing the milk, giving it a creamy texture. The goal is to achieve a glossy, paint-like texture with tiny bubbles (microfoam).
- Monitor Temperature:
- The ideal temperature for steamed milk is between 140-150°F (60-65°C). If you don’t have a thermometer, a good rule of thumb is to stop steaming once the pitcher becomes too hot to comfortably hold with your hand.
- Be careful not to overheat the milk, as this can scald it and negatively affect the flavor and texture.
- Tapping and Swirling:
- After steaming, tap the milk pitcher on the counter to break up any remaining large bubbles. Then, swirl the milk to keep the texture uniform and glossy.
Tips for Latte Art
Once you’ve achieved the perfect milk texture, you’re ready to practice latte art. Here are some quick tips to get started:
- Pour Low and Slow: Begin by pouring from a height, then bring the pitcher closer to the cup as you near the top. This helps control the flow of milk and create more defined designs.
- Start Simple: Begin with basic patterns like the heart or tulip before progressing to more intricate designs like rosettas or swans. Latte art takes practice, but the perfect microfoam you can achieve with your La Marzocco machine will give you a strong foundation.
Milk Frothing for Different Drinks
- Cappuccino: More air is incorporated to create a foamier texture, with about a 1:1 ratio of foam to milk.
- Latte: A smoother, creamier texture with a thin layer of microfoam on top.
- Macchiato: A shot of espresso with just a dollop of foam, highlighting the espresso’s rich flavors.

Mastering milk frothing with your La Marzocco machine takes your espresso drinks to café-quality levels, with both flavor and presentation on point.
Upgrading and Modifying Your La Marzocco Machine
La Marzocco machines are already some of the best on the market, but for those who love to tinker or push the limits of espresso-making, upgrading and modifying your machine can take its performance to the next level. Whether you want to enhance the aesthetics, improve the functionality, or fine-tune your brewing process, there are plenty of modifications and upgrades to consider.
Why Upgrade or Modify?
The primary reason for upgrading or modifying your La Marzocco machine is customization. While these machines are built to deliver exceptional results straight out of the box, modifications allow you to tailor your espresso experience even further, ensuring that the machine meets your specific preferences and brewing style.
Upgrades can improve:
- Precision: Enhancing control over variables like pressure and temperature for even better consistency.
- Aesthetics: Personalizing the machine to reflect your style or kitchen setup.
- Performance: Increasing efficiency, speed, or capability to brew multiple drinks.
In the following sections, we’ll cover some of the most popular and beneficial upgrades and modifications for La Marzocco machines and provide a guide for how to install them.
Recommended Upgrades
Upgrading your La Marzocco machine can enhance both its performance and longevity, as well as provide more control over the espresso-making process. Here are some of the most popular and effective upgrades that La Marzocco enthusiasts swear by:
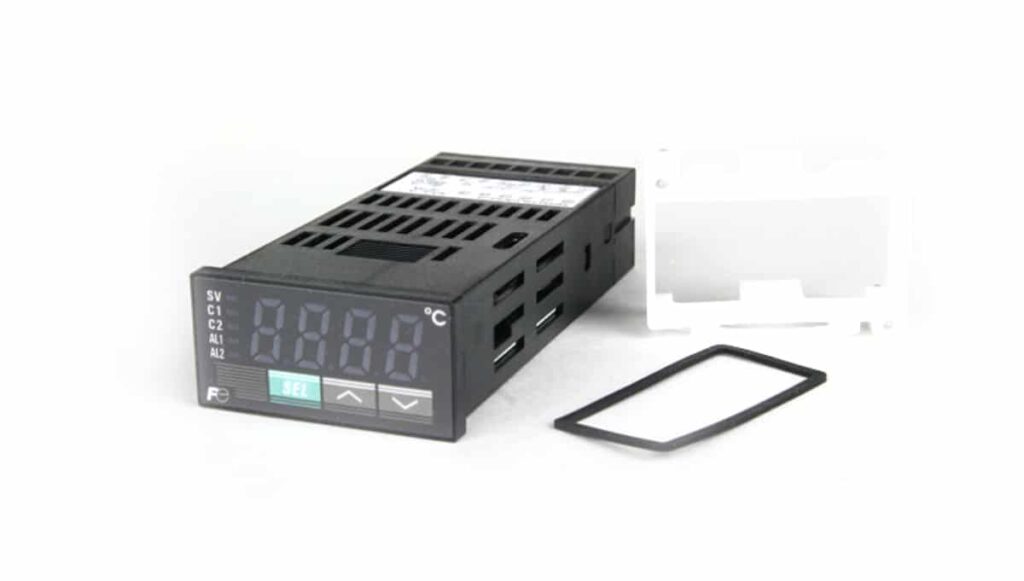
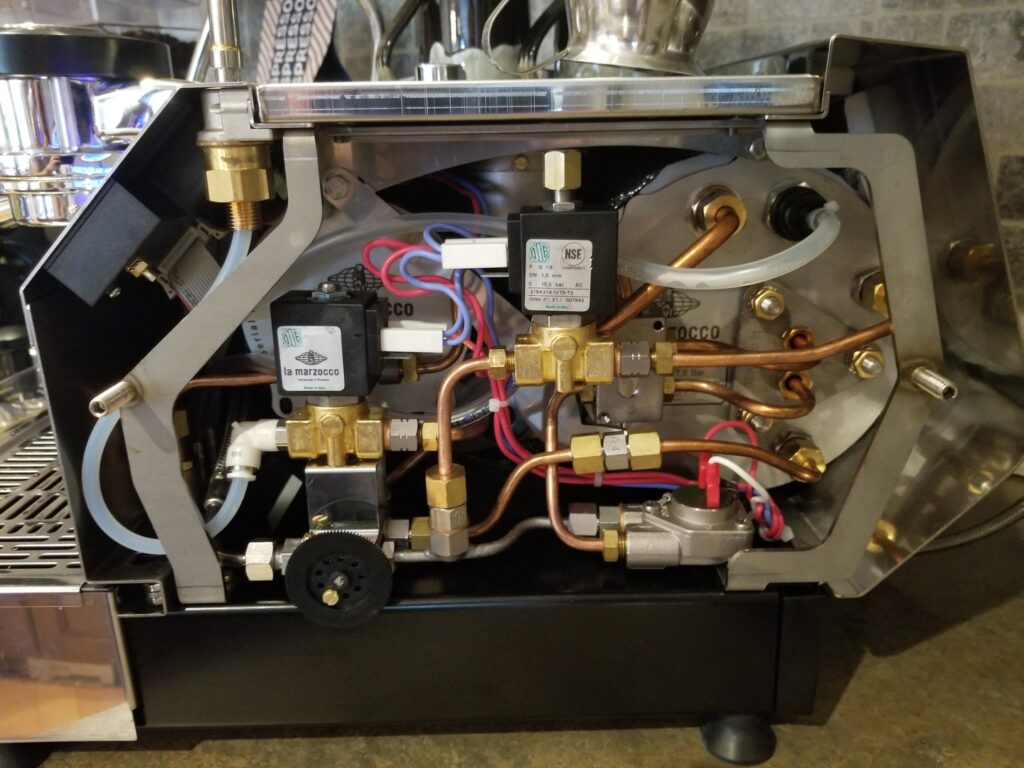
1. PID Temperature Controller Upgrade
One of the most common upgrades for older La Marzocco models is the addition of a PID (Proportional Integral Derivative) temperature controller. A PID allows you to regulate the brewing temperature more precisely, leading to consistent and better espresso extractions.
- Why Upgrade: Without a PID, temperature fluctuations can occur, which impacts the extraction process. Adding a PID keeps the temperature steady, ensuring that each shot is brewed at the ideal heat level.
- Who It’s For: Home baristas and professionals who want complete control over their brewing temperature, especially useful when working with lighter roasts that require precise temperature settings.
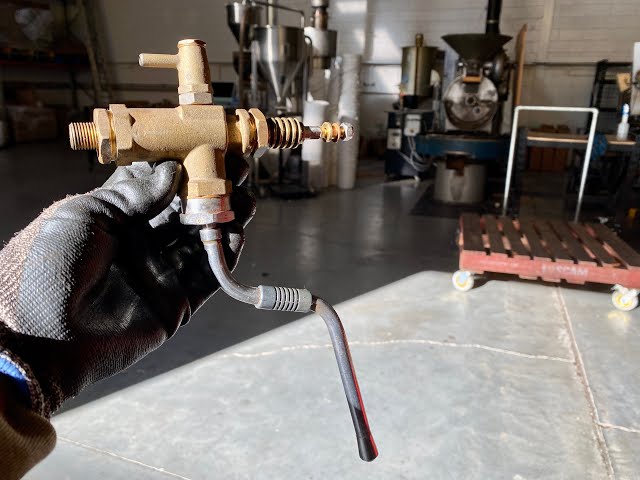
2. Pressure Profiling Kit
Pressure profiling allows you to control the pressure at various stages of the brewing process. Instead of having a constant 9-bar pressure throughout extraction, you can start with low pressure to pre-infuse the coffee grounds and then increase the pressure for extraction.
- Why Upgrade: Pressure profiling can significantly impact the flavor profile of your espresso, offering greater nuance and complexity in your shots. It’s perfect for experimenting with different extraction methods.
- Who It’s For: Espresso enthusiasts who want to experiment with advanced brewing techniques and have precise control over every step of the process.
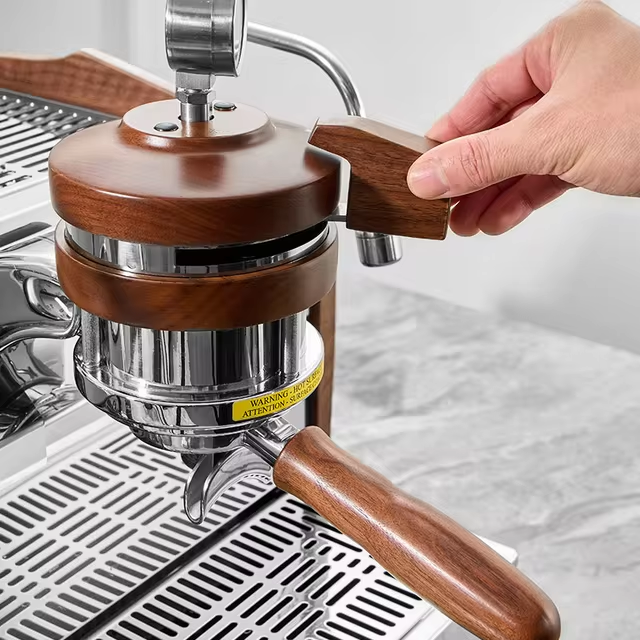
3. Portafilter Upgrades
Upgrading your portafilter can make a big difference in the quality of your espresso shots. Some popular portafilter upgrades include bottomless portafilters, which give you a direct view of the extraction process, and precision baskets, which ensure even distribution of the coffee grounds.
- Why Upgrade: Bottomless portafilters allow you to visually inspect the extraction for signs of channeling or other issues. Precision baskets help ensure consistency shot after shot.
- Who It’s For: Those looking to fine-tune their espresso-making process or troubleshoot extraction issues.
4. Steam Wand Upgrade
Some La Marzocco users choose to upgrade their steam wand to models that offer more control, such as the no-burn steam wand, which stays cool to the touch, or a more ergonomic design for better maneuverability.
- Why Upgrade: An upgraded steam wand can make milk frothing easier and more efficient, particularly for latte art enthusiasts who need precise control over milk texture.
- Who It’s For: Baristas and home users who frequently make milk-based drinks and want a smoother frothing experience.
5. Plumb-In Kit
For those who use their La Marzocco machine frequently, a plumb-in kit allows you to connect the machine directly to your water supply, eliminating the need to refill the reservoir manually.
- Why Upgrade: A plumbed-in machine ensures a constant water supply, making it easier to pull shots back-to-back without pausing to refill. It also provides better water pressure consistency.
- Who It’s For: Serious home baristas or café owners who want a more efficient workflow.
6. Shot Timer
Adding a shot timer to your La Marzocco machine allows you to track the exact extraction time for each shot, helping you dial in your espresso with greater accuracy.
- Why Upgrade: Monitoring shot time is crucial for ensuring consistency. A shot timer gives you a clear visual cue for when your espresso has reached the ideal extraction time.
- Who It’s For: Anyone who wants to consistently hit that sweet spot in their espresso extraction.
These upgrades can transform your La Marzocco machine into a more precise and personalized brewing tool. Whether you’re looking to enhance the consistency of your espresso or simply improve workflow, these modifications offer tangible benefits.
How to Install and Use Modifications
Upgrading and modifying your La Marzocco machine can seem intimidating, but with the right tools and a bit of patience, many modifications are straightforward to install. Below is a guide to installing and using some of the most common upgrades, ensuring that you get the best performance from your machine.

1. Installing a PID Temperature Controller
Installing a PID controller requires some technical knowledge, but the improvement in temperature stability makes it worth the effort. Here’s how to get started:
- Tools Needed: Multimeter, screwdriver, wire strippers, electrical tape.
- Installation Steps:
- Turn off and unplug your machine. Safety first.
- Access the control panel by removing the machine’s casing.
- Locate the thermostat and disconnect the wiring.
- Install the PID controller in place of the thermostat, following the wiring diagram provided by the manufacturer.
- Reassemble the machine and turn it on to test the PID.
- Adjust the temperature settings using the PID’s interface to fine-tune your espresso shots.
- Pro Tip: Follow the specific instructions for your model, as there are slight variations in wiring setups depending on the La Marzocco machine.
2. Setting Up a Pressure Profiling Kit
Pressure profiling kits are available for select La Marzocco models. The installation process varies depending on the specific kit, but here’s a general outline:
- Tools Needed: Wrench set, screwdriver, Teflon tape.
- Installation Steps:
- Turn off the machine and disconnect from power.
- Install the pressure control module by accessing the group head and attaching the module where indicated in the instructions.
- Connect the pressure profiling system to the machine’s pump using the supplied hardware.
- Seal any joints with Teflon tape to prevent leaks.
- Reassemble and power on the machine to test the pressure control.
- Experiment with different pressure profiles to find what works best for your espresso beans.
- Pro Tip: Start with a standard pre-infusion pressure and gradually increase pressure during extraction to bring out more complex flavors.
3. Installing a Bottomless Portafilter
This is one of the simpler upgrades, but it can make a big difference in how you monitor extraction.
- Tools Needed: None, aside from the new portafilter.
- Installation Steps:
- Remove your existing portafilter by unlocking it from the group head.
- Replace it with the bottomless portafilter by locking it into the group head as usual.
- Test the extraction by pulling a shot. With the bottomless portafilter, you can visually monitor for any signs of channeling or uneven extraction.
- Pro Tip: Using a bottomless portafilter helps diagnose problems with distribution and tamping, allowing you to make adjustments for better espresso shots.
4. Upgrading the Steam Wand
An upgraded steam wand can improve milk frothing, and fortunately, it’s a relatively simple installation.
- Tools Needed: Wrench, plumber’s tape.
- Installation Steps:
- Turn off the machine and allow the current steam wand to cool completely.
- Disconnect the existing steam wand using a wrench.
- Install the new steam wand, applying plumber’s tape to any threaded connections to prevent leaks.
- Test the steam function to ensure there are no leaks and that the new wand works smoothly.
- Pro Tip: Practice using the new steam wand with cold water first to get a feel for how it operates compared to the original.
5. Installing a Plumb-In Kit
Connecting your La Marzocco machine to a direct water line eliminates the need to refill the water reservoir manually.
- Tools Needed: Wrench set, tubing, plumber’s tape.
- Installation Steps:
- Turn off the machine and locate the water inlet connection.
- Connect the tubing to the water inlet and secure it with the supplied fittings.
- Attach the other end of the tubing to your home’s water supply line, using plumber’s tape to prevent leaks.
- Test for any leaks and adjust the water pressure to ensure proper flow.
- Pro Tip: Ensure that the water line you’re connecting to has a water filtration system installed to prevent mineral buildup in your machine.
6. Using a Shot Timer
If your machine doesn’t have a built-in shot timer, adding an external one is quick and easy.
- Tools Needed: Shot timer with a clip or adhesive mount.
- Installation Steps:
- Attach the shot timer to your machine in a visible location near the group head using the clip or adhesive backing.
- Activate the timer whenever you start an espresso shot and stop it once the shot is complete.
- Pro Tip: Use the shot timer to ensure that your shots are consistently within the ideal extraction window (25-30 seconds for a double shot).
Safety Considerations
- Always unplug your machine before beginning any installation to avoid electric shock.
- Keep a clean, organized workspace to ensure none of the small parts or tools are misplaced.
- If you’re unsure about any installation, consult with a professional technician to avoid damaging your machine.
Final Thoughts
La Marzocco machines are already renowned for their quality and performance, but with these advanced usage tips, upgrades, and modifications, you can take your espresso-making to new heights. Whether you’re a home barista looking to replicate café-quality drinks or a professional seeking precision in every shot, mastering the features and customizing your La Marzocco machine will enhance both your workflow and the flavor of your espresso.
Remember, the key to great espresso lies in understanding the variables—grind size, shot timing, pressure, and milk frothing—and making small adjustments to find your perfect cup. With a few upgrades, like a PID temperature controller or a pressure profiling kit, you can refine your brewing process even further and experiment with different techniques.
Disclosure: Our blog contains affiliate links to products. We may receive a commission for purchases made through these links. However, this does not impact our reviews and comparisons. We try our best to keep things fair and balanced, in order to help you make the best choice for you.