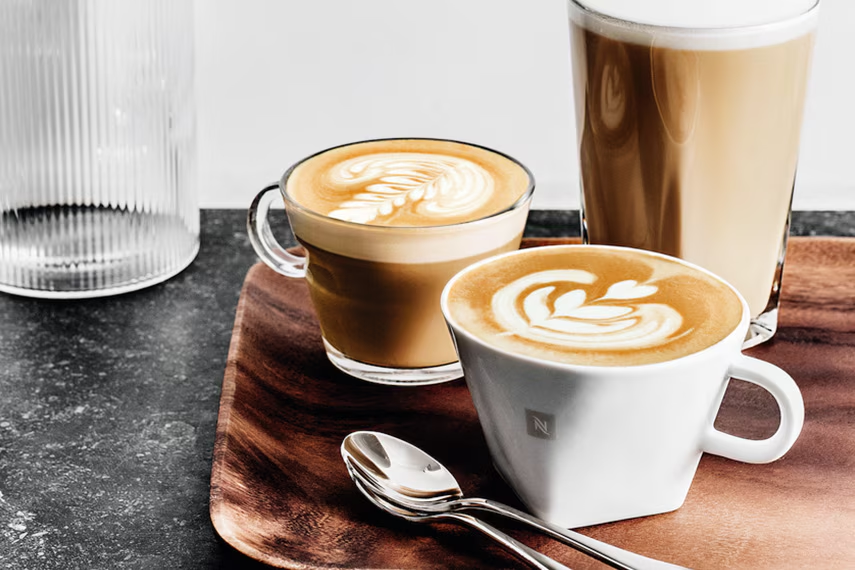
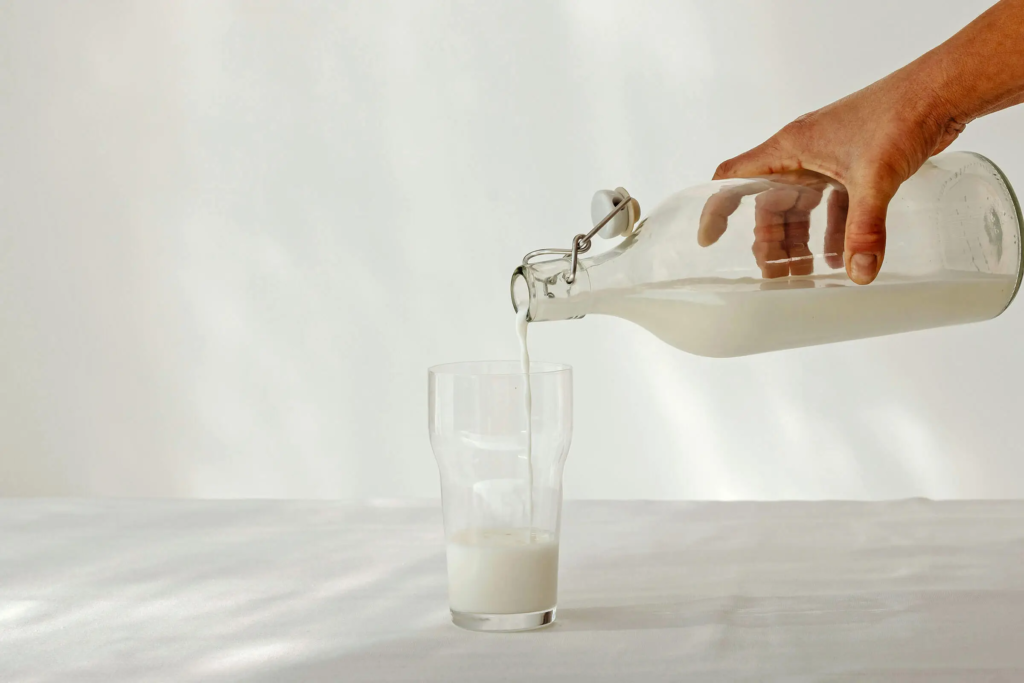
If you’ve ever tried to pour a heart or rosetta with your Nespresso machine, you know that not all milk froths the same. Some create silky, glossy microfoam perfect for latte art. Others separate, bubble, or fall flat.
This guide covers the best milks for latte art with Nespresso, both dairy and plant-based, so you can pour café-worthy designs at home.
Why Milk Matters for Latte Art

• Proteins stabilize bubbles → More protein = more stable microfoam.
• Fat adds creaminess → Higher fat = glossy texture, but too much fat = heavy foam.
• Temperature balance → Milk sweetens around 60–65°C; overheated milk loses structure.
The right milk gives you silky, glossy microfoam that “paints” on espresso crema.
Best Dairy Milks for Latte Art
Whole Milk (Best Overall)
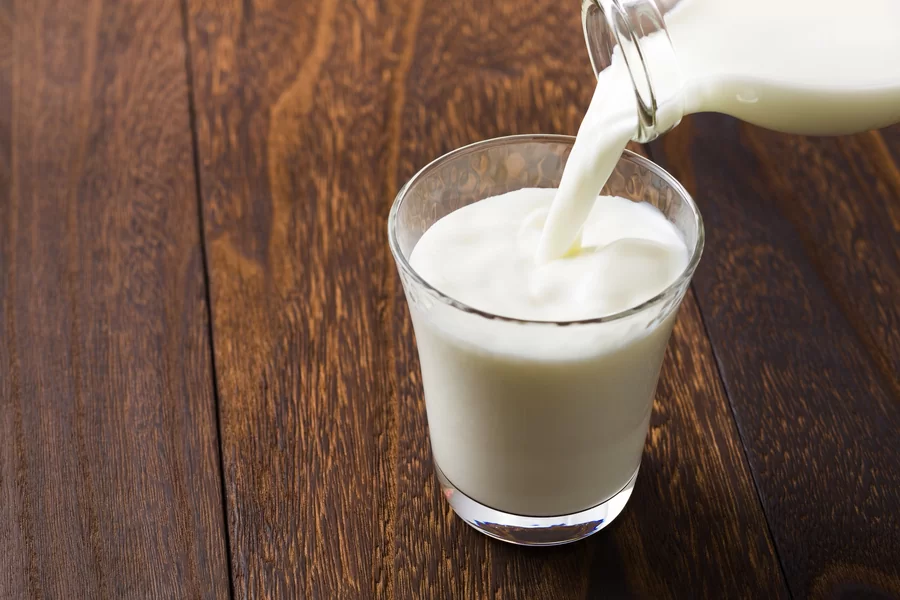
• Why it works: Perfect protein/fat ratio for silky microfoam.
• Result: Glossy, stable foam → easiest for beginners.
• Best Drinks: Lattes, flat whites, cappuccinos.
2% / Semi-Skimmed Milk
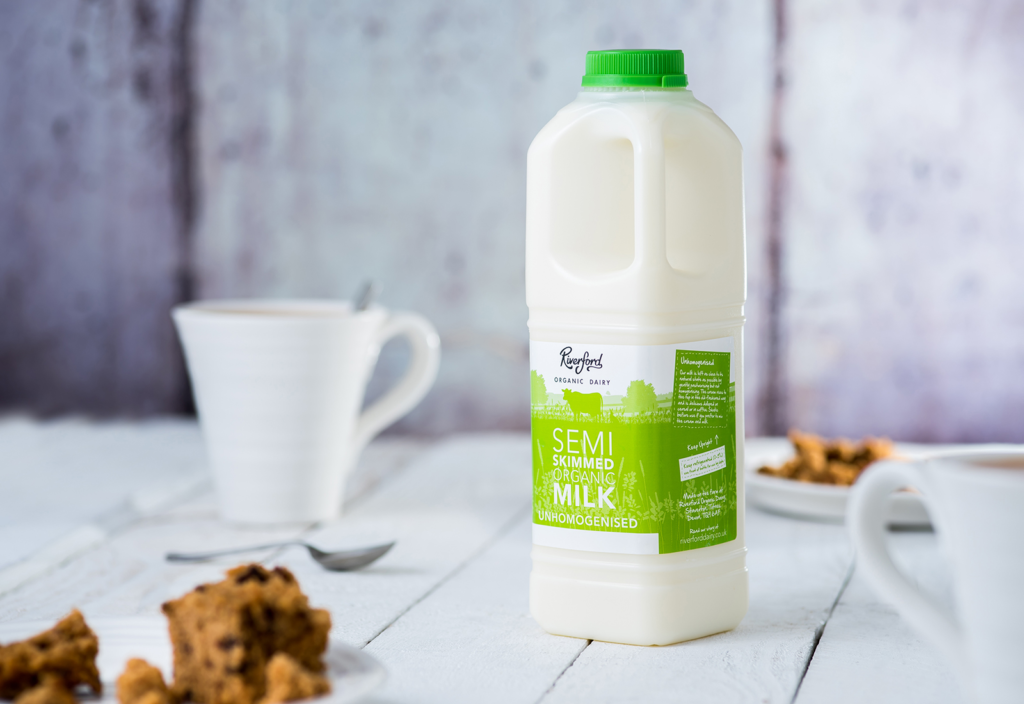
• Why it works: Lower fat, still decent protein.
• Result: Lighter foam, good for cappuccinos but less glossy.
• Best Drinks: Cappuccinos, lighter lattes.
Skim Milk
• Why it works: High protein, no fat.
• Result: Froths a lot (voluminous), but the foam is dry, not silky.
• Best Drinks: Cappuccinos with thick foam.
Winner for Latte Art: Whole milk (most forgiving, glossy finish).
Best Plant-Based Milks for Latte Art
Oat Milk (Barista Edition)
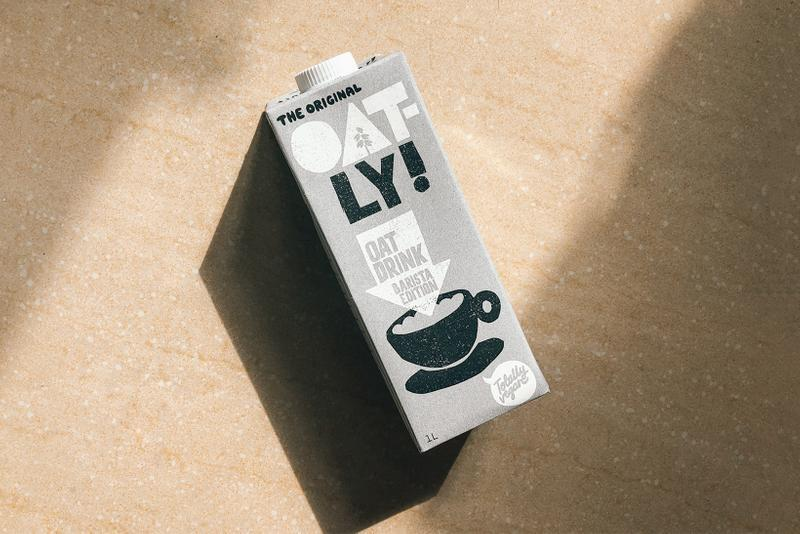
• Why it works: Extra protein + oils added for frothing.
• Result: Closest plant-based alternative to dairy → silky, creamy, latte-art capable.
• Best Brands: Oatly Barista, Califia Barista, Minor Figures.
Soy Milk (Barista Edition)

• Why it works: Naturally higher protein.
• Result: Froths well, stable foam, slightly less glossy than oat.
• Caution: Can curdle if overheated or added to acidic espresso.
Almond Milk (Barista Edition)
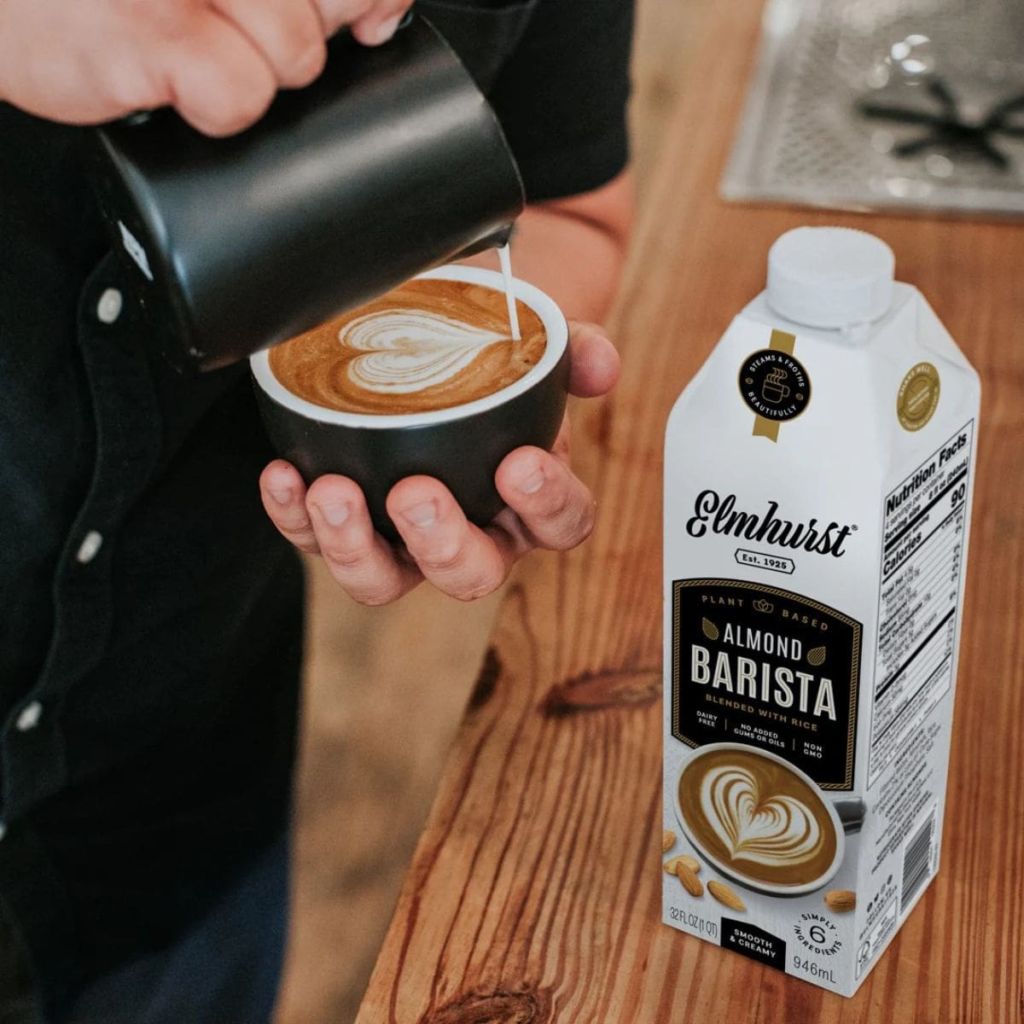
• Why it works: Added stabilizers improve frothing.
• Result: Thin, nutty foam—less silky, not ideal for detailed art but works for cappuccinos.
Coconut Milk
• Why it works: Lower protein, froths inconsistently.
• Result: Thin, airy foam—not latte art-friendly. Best for flavor, not designs.
Winner for Latte Art (Plant-Based): Oat Barista Edition.
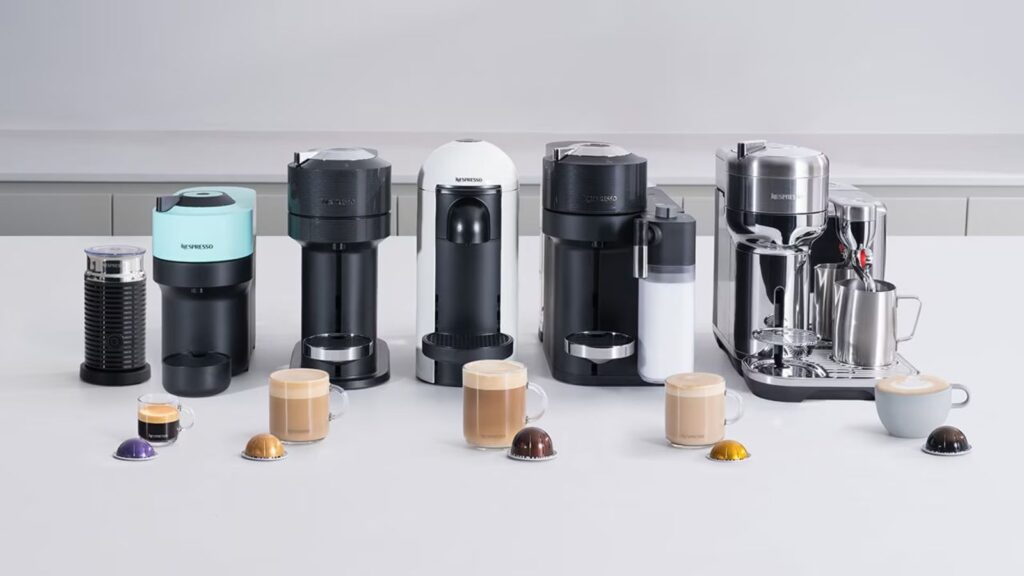
Best Nespresso Frothers for Latte Art
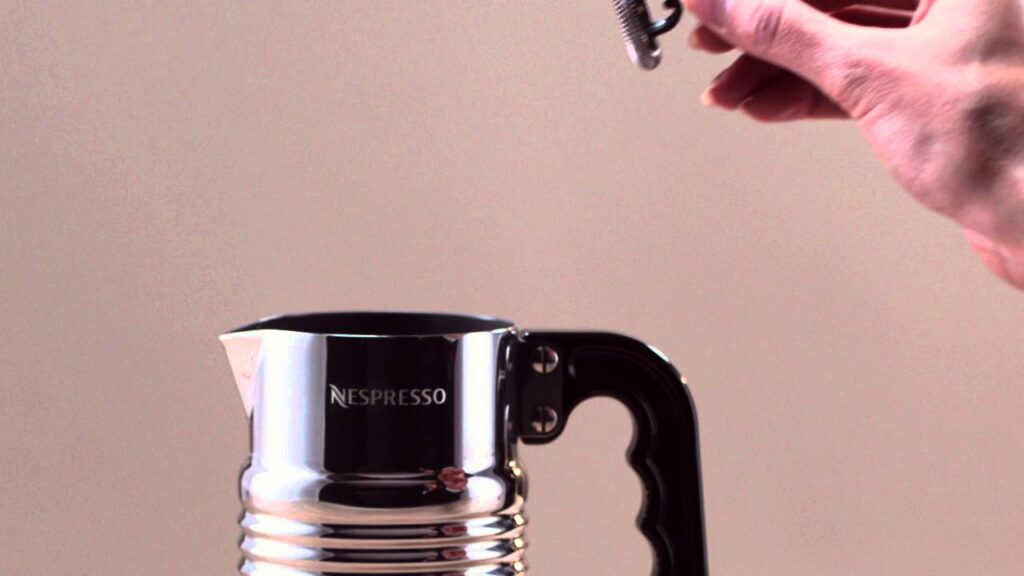
• Creatista (Breville): Only Nespresso with real steam wand → true microfoam + latte art capable.
• Aeroccino 4: Creates dense or airy foam, but microfoam is harder to control → basic art possible.
• Lattissima: Automatic carafe → convenient but foam too thick/dry for art.
If latte art is your goal → go to Creatista.
Why Nespresso Frothers Behave Differently Than Espresso Steam Wands
This is the part most guides skip, and it’s usually why people think they’re “bad at latte art” when the gear is doing something totally different.
Short version: Nespresso frothers and café steam wands don’t make the same kind of milk foam. And that changes everything.
Aeroccino vs Steam Wand (What’s Actually Happening)
A café steam wand injects steam + air into milk at the same time. The barista controls:
- how much air goes in
- how fast the milk spins
- how fine the bubbles become
That control is what creates true microfoam, the glossy, paint-like milk that flows smoothly for latte art.
Nespresso frothers (like the Aeroccino) work differently. They:
- heat milk with a coil or induction
- whip air in using a spinning whisk
- stop automatically once they hit a set temperature
The result is consistent foam, but not fully controllable foam.
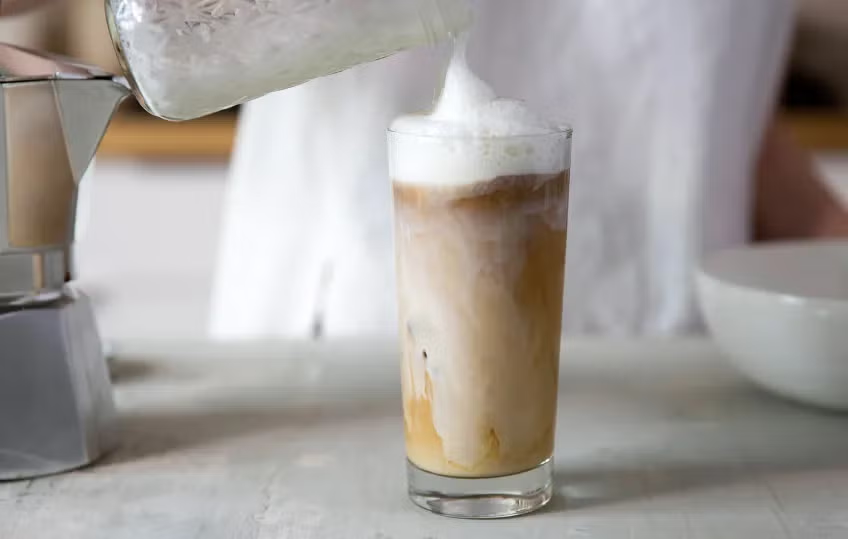
Microfoam vs Airy Foam (In Plain English)
- Microfoam = tiny bubbles, shiny texture, pours like melted ice cream
- Airy foam = bigger bubbles, lighter texture, sits on top
Steam wands are designed to create microfoam.
Nespresso frothers tend to create airier foam by default, especially with low-fat or plant-based milks.
That’s why latte art feels easier in cafés and trickier at home.
Why Some Milks Work in Cafés but Fail with Nespresso
In coffee shops, baristas can “fix” difficult milks by:
- adjusting steam pressure
- stretching milk less
- changing swirl speed
With a Nespresso frother, you don’t have that flexibility.
So:
- Milks that rely on high protein and fat balance (like whole milk or barista oat milk) perform better
- Thin or low-protein milks foam too aggressively and lose pour control
- Some plant milks separate because the frother overheats them slightly
Nothing’s wrong with your technique. It’s physics and machinery.
Is Latte Art Even Possible with Nespresso?

Yes. Just with different expectations.
You’re aiming for:
- hearts
- simple tulips
- clean contrast
Not ultra-detailed rosettas.
Once you understand that Nespresso foam is built differently, choosing the right milk and pouring sooner (before the foam separates) makes a huge difference.
That’s why milk choice matters more with Nespresso than with traditional espresso machines.
Latte Art Difficulty by Milk Type
| Milk Type | Froth Quality | Latte Art Friendly? | Notes |
|---|---|---|---|
| Whole Milk | Excellent | ✅ Best choice | Glossy, silky microfoam |
| 2% Milk | Good | ✅ Decent | Lighter body |
| Skim Milk | Fair | ❌ Dry foam | Good volume, not silky |
| Oat Milk (Barista) | Excellent | ✅ Best plant-based | Silky, closest to dairy |
| Soy Milk (Barista) | Good | ✅ Moderate | Watch for curdling |
| Almond Milk (Barista) | Fair | ❌ Limited | Thin, nutty foam |
| Coconut Milk | Poor | ❌ Not suitable | Flavor > function |
Tips for Better Latte Art Frothing
1. Start Cold: Always use milk straight from the fridge.
2. Don’t Overheat: Stop at 60–65°C (140–150°F).
3. Swirl & Tap Jug: Break big bubbles, polish texture.
4. Use Fresh Milk: Old milk loses protein structure.
5. Practice with Whole or Barista Oat: Most forgiving for beginners.
Final Verdict — Best Milk for Latte Art
• Best Overall: Whole Milk (silkiest, glossiest foam).
• Best Plant-Based: Oat Milk (Barista Edition).
• Best High Volume Foam: Skim or Soy.
• Best Flavor Add-On: Almond (mochas, flavored drinks).
Bottom line: For real café-style latte art on a Nespresso Creatista, start with whole milk or barista oat milk.