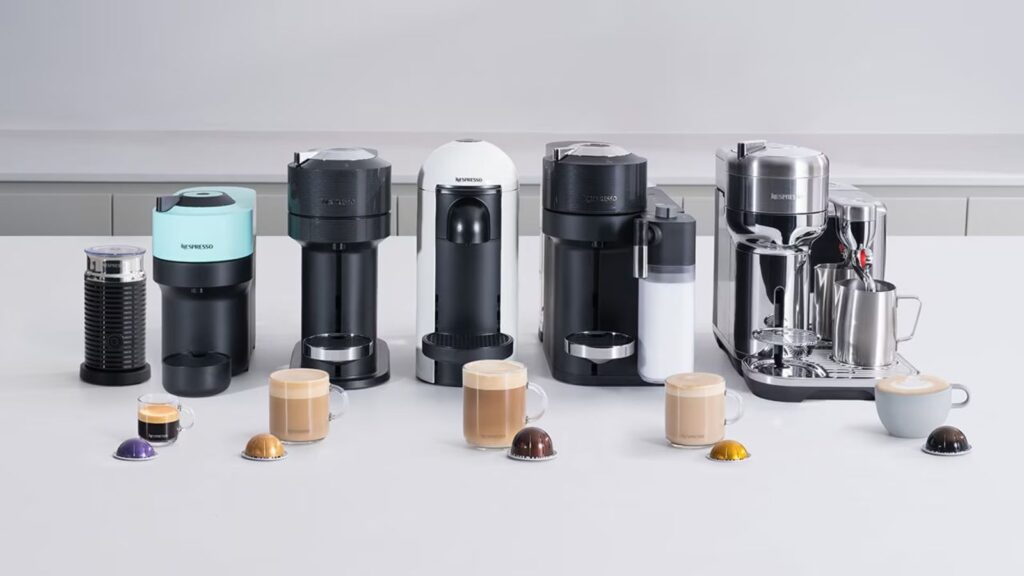
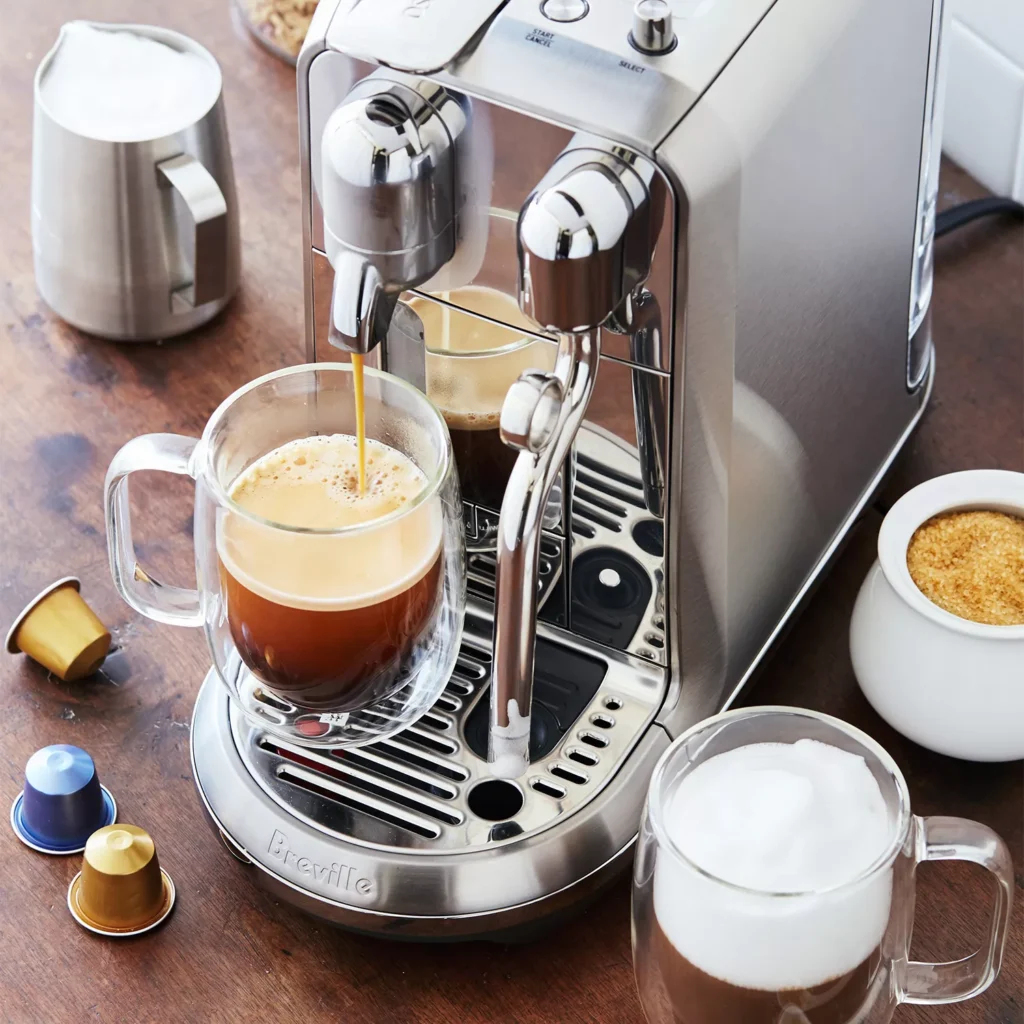
One of the unique advantages of the Nespresso Creatista line (Uno, Plus, Pro) is its integrated steam wand. Unlike the Aeroccino or Lattissima milk carafe, the Creatista allows you to texture milk like a real barista—meaning you can actually practice latte art at home.
This tutorial on Latte Art Nespresso Creatista walks you through the basics of latte art on Nespresso Creatista models: how to froth milk correctly, how to pour, and how to start with simple designs.
Why the Creatista is Different
• Real Steam Wand: Works like a café machine, introducing microfoam and controlling milk texture.
• Customizable Settings: 3–11 temperature levels and multiple froth textures.
• Fast Workflow: Steam wand purges automatically, reducing cleanup.
If you want latte art on a Nespresso machine, the Creatista is your only real option.
Latte Art Basics: What You’ll Need
Let’s keep it simple:
- Your Nespresso Creatista (any model—Plus, Pro, Uno, whatever)
- Fresh milk (whole milk makes it way easier for beginners)
- Your favorite espresso capsule (pick something bold, trust me)
- A metal milk jug (it matters for pouring and heating)
- A big mug for showing off your new “skills”
Step 1 — Froth the Milk Correctly
Choosing the Right Milk
• Best: Whole dairy milk → high protein and fat for silky microfoam.
• Plant-Based: Barista oat milk works nearly as well. Avoid almonds unless using a barista blend.
Frothing with Creatista
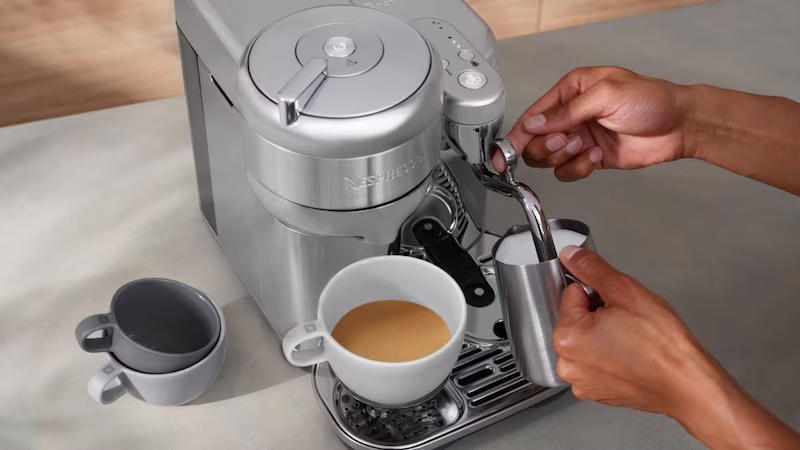
1. Fill stainless steel jug to just below the spout.
2. Place wand tip just below the milk surface.
3. Select temperature (~60–65°C) and froth texture (medium for lattes, dense for cappuccinos).
4. Let machine auto-texture the milk → you’ll get glossy, paint-like microfoam.
Key: Microfoam should look shiny and silky, not bubbly.
Step 2 — Master the Pour
Start with the Basics
• Hold cup at an angle.
• Begin high (6–8 inches): Thin stream mixes milk with espresso.
• Drop lower (1–2 inches): Microfoam sits on top, creating contrast.
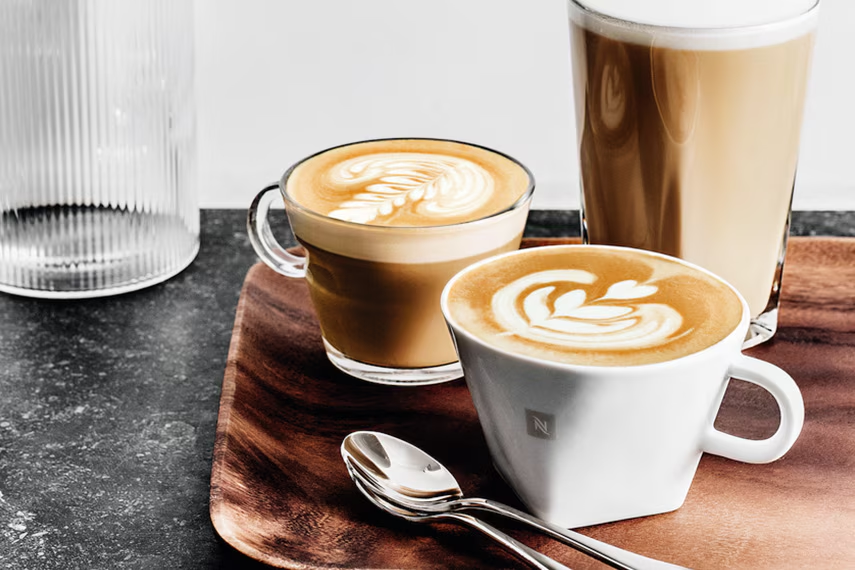
Simple Latte Art Progression

1. Heart: Start high, drop low in the center, move slightly forward, finish with a quick lift.
2. Rosetta (Leaf): Wiggle jug gently while pouring low, pull through at the end.
3. Tulip: Stack small blobs of foam, then pull through.
Tip: Always start with the heart. It’s the easiest and builds fundamentals.
Step 3 — Practice Techniques

• Work on Consistency: Same milk volume and temp every time.
• Use Whole Milk First: Easier to control than skim or plant-based.
• Don’t Overfill Cup: Leave room for foam designs.
• Repetition Matters: Latte art is muscle memory—10 bad pours = 1 breakthrough.
Common Mistakes & Fixes
• Foam Too Bubbly: Milk wasn’t textured enough → keep wand tip just below surface.
• Design Breaks Apart: Pour was too fast or jug too high.
• No Contrast in Art: Espresso crema too weak → use fresh capsule with good crema (Ristretto, Napoli, Kazaar).
Best Pods for Latte Art Practice
• OriginalLine: Ristretto Italiano, Arpeggio, Napoli (intense crema).
• Vertuo (Creatista Pro only): Altissio, Diavolitto (rich crema for contrast).
Stronger pods = better crema = sharper latte art designs.
Final Verdict — Latte Art on Creatista
The Creatista Uno, Plus, and Pro are the only Nespresso machines capable of true latte art, thanks to their steam wands.
• Start with whole milk + simple heart designs.
• Progress to rosettas and tulips with practice.
• Use intense pods for the best crema canvas.
Bottom line: If you want to add latte art to your morning routine, the Creatista line is your best entry point into barista-style creativity at home.