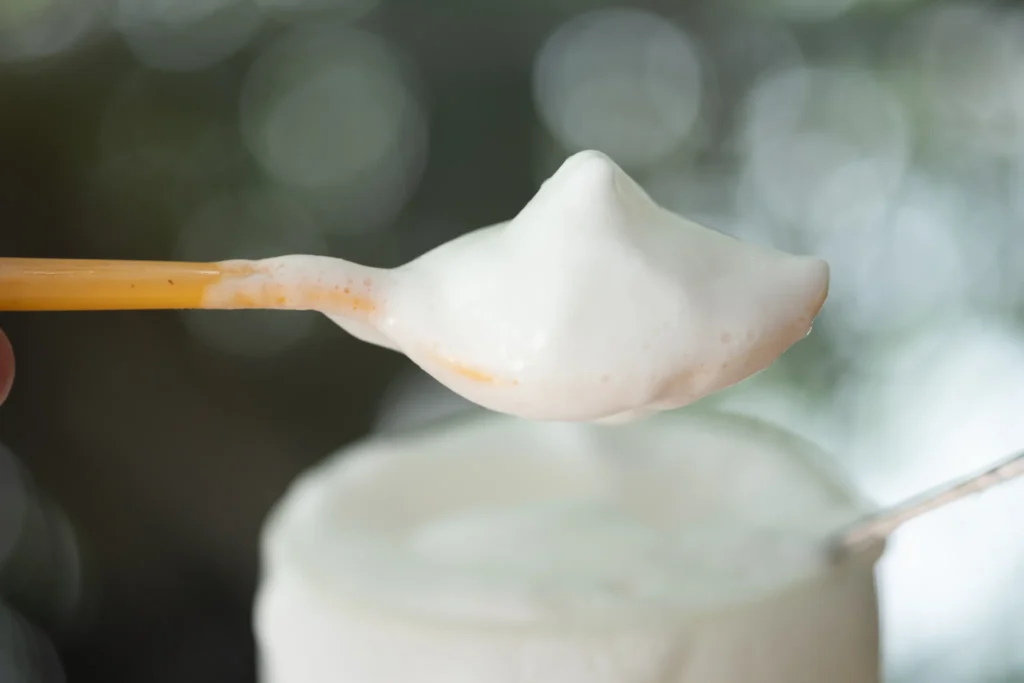
Frothing milk is an essential skill for any coffee enthusiast, whether you’re a professional barista or a home brewer. Perfectly frothed milk can transform your coffee experience, adding texture, flavor, and a touch of artistry. This guide on how to froth milk with espresso machine will walk you through different frothing techniques, help you choose the right milk, and teach you how to avoid common frothing mistakes.
Different Frothing Techniques
1. Steam Wand Frothing
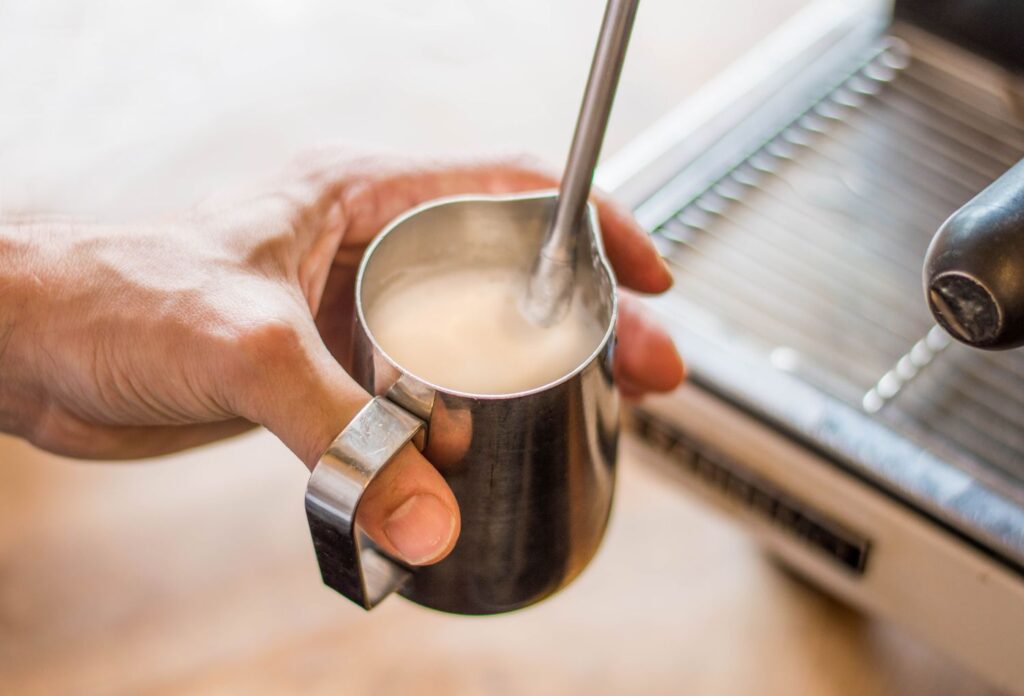
The steam wand method is the most common technique used in cafes and home espresso machines. This method involves using the steam wand to heat and aerate the milk, creating a creamy microfoam ideal for lattes and cappuccinos.
Steps to Steam Wand Frothing:
- Prepare Your Equipment: Ensure your steam wand is clean and your pitcher is cold. A cold pitcher helps in controlling the temperature better during frothing.
- Pour Milk: Fill your pitcher with cold milk up to the bottom of the spout. The amount of milk should be sufficient to allow expansion as it aerates.
- Purge the Steam Wand: Turn on the steam for a second to release any residual water, ensuring the steam is dry when you begin frothing.
- Position the Wand: Insert the steam wand just below the surface of the milk and tilt the pitcher slightly to create a whirlpool effect.
- Start Frothing: Turn on the steam and lower the pitcher to allow the milk to swirl. The whirlpool helps incorporate air evenly into the milk.
- Create Microfoam: Submerge the wand deeper into the milk once it reaches body temperature to finish heating without adding more air. The ideal temperature is around 150°F.
2. Handheld Milk Frother
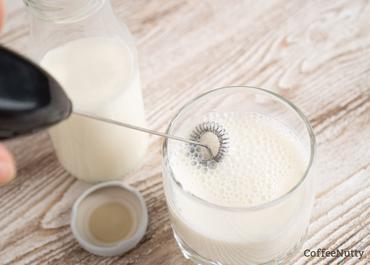
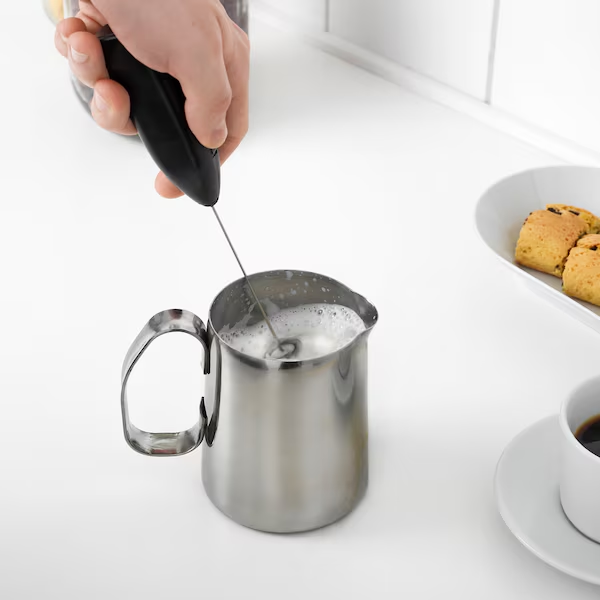
Handheld milk frothers are battery-operated devices that froth milk by rapidly whisking it. This method is convenient and easy for beginners, requiring minimal equipment and setup.
Steps to Handheld Frothing:
- Heat the Milk: Warm the milk in a microwave or on the stove to around 150°F.
- Froth the Milk: Submerge the frother just below the surface and turn it on. Hold the frother at a slight angle to create a whirlpool.
- Move the Frother: Move the frother up and down until the milk reaches your preferred consistency, usually within 20-30 seconds. Avoid overfrothing, as this can create large bubbles and reduce the milk’s creaminess.
3. Automatic Milk Frother
Automatic milk frothers are standalone devices that heat and froth milk at the push of a button. They are user-friendly and provide consistent results, making them ideal for those who want convenience without compromising on quality.
Steps to Using an Automatic Frother:
- Add Milk: Pour the desired amount of milk into the frother, ensuring you do not exceed the maximum fill line.
- Select Setting: Choose the appropriate setting for hot or cold froth, depending on your preference.
- Start Frothing: Press the start button and wait for the machine to complete the process. Most automatic frothers will shut off automatically once the milk is frothed.
4. French Press Frothing
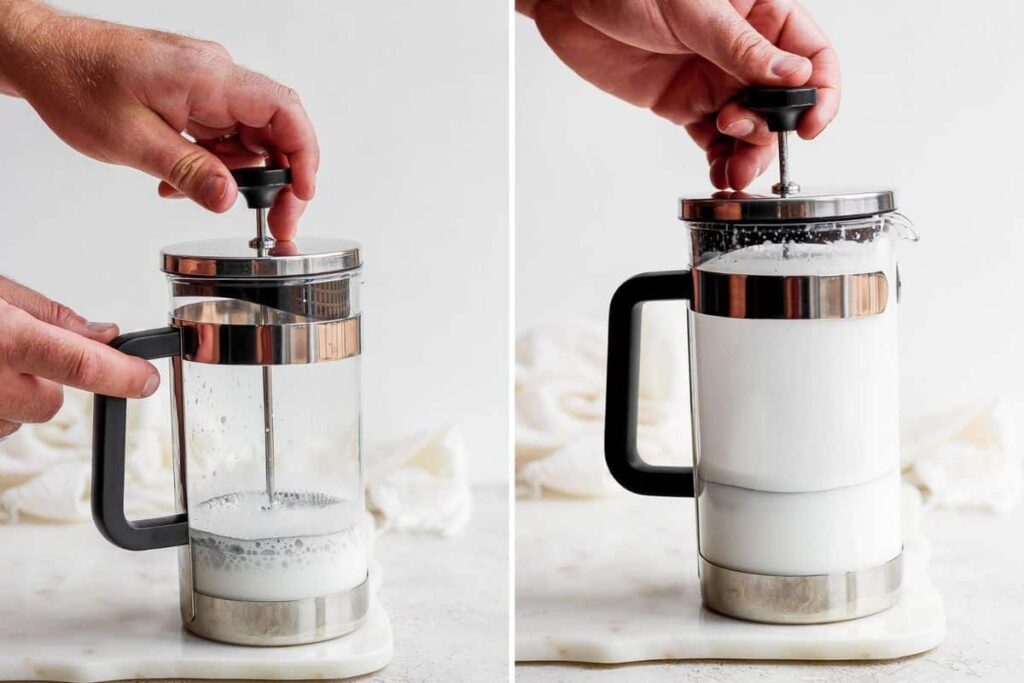
A French press can also be used to froth milk, offering a simple alternative that many coffee enthusiasts might already have at home.
Steps to French Press Frothing:
- Heat the Milk: Warm the milk to the desired temperature.
- Pour Milk into the French Press: Fill the French press about one-third full with milk.
- Plunge the Milk: Rapidly move the plunger up and down, incorporating air into the milk. Continue until the milk has doubled in volume and has a creamy texture.
Choosing the Right Milk
The type of milk you choose greatly impacts the quality of your froth. Here are some options:
1. Whole Milk
Whole milk is the best choice for frothing, producing a rich, creamy foam. Its higher fat content helps stabilize the froth and enhances the flavor of your coffee drinks.
2. Skim Milk
Skim milk creates a lighter, airier foam compared to whole milk. It’s a good option for those looking for a lower-calorie alternative. The froth from skim milk is more substantial, holding its shape better.
3. Non-Dairy Milk
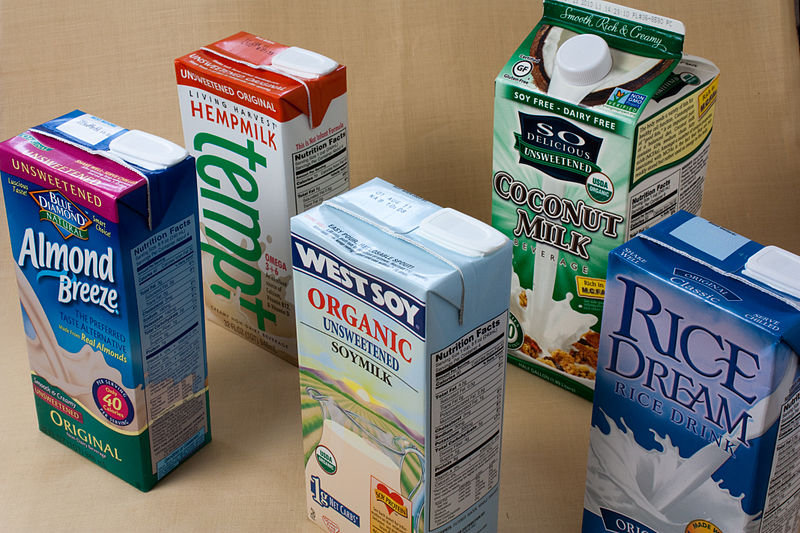
Non-dairy alternatives like soy, almond, and oat milk can also be frothed, though results vary. Oat milk is particularly popular due to its creamy texture and frothing capabilities. Soy milk froths well but can sometimes separate, while almond milk requires practice to achieve a good foam.
4. Specialty Milks
Some brands offer barista-style milks specifically designed for frothing. These are often fortified with additional fats or proteins to improve foam stability and texture, making them a reliable choice for non-dairy drinkers.
Common Frothing Mistakes and How to Avoid Them

1. Overheating the Milk
Overheating can cause the milk to taste burnt and lose its ability to froth properly. Always aim for a temperature around 150°F. Using a thermometer can help achieve the perfect temperature.
2. Incorrect Wand Positioning
Placing the steam wand too deep or too shallow can result in poor frothing. Ensure the wand is just below the surface of the milk at an angle. This allows air to be incorporated at the start and then heats the milk without adding more air.
3. Not Using Fresh Milk
Using old or previously frothed milk can hinder the frothing process. Always use fresh, cold milk for best results. Milk proteins degrade over time, affecting frothing quality.
4. Neglecting Equipment Maintenance
A clean steam wand is crucial for proper frothing. Regularly clean and purge your steam wand to prevent milk residue buildup, which can affect the texture and flavor of your froth.
5. Using the Wrong Milk
Some milks don’t froth well due to their protein and fat content. Experiment with different types to find the best one for your needs. Non-dairy milks vary widely in frothing ability, so finding a suitable brand might require some trial and error.
6. Inconsistent Frothing Technique
Consistency is key to achieving great froth. Practice and refine your technique to ensure you can replicate good results every time. Small adjustments in wand positioning and pitcher movement can make a big difference.
Advanced Frothing Tips and Tricks
1. Creating Latte Art
Latte art is an advanced skill that adds a professional touch to your coffee drinks. To create latte art, you’ll need well-frothed milk with a smooth, glossy texture. Pour the milk slowly and steadily into your espresso, starting high and then lowering the pitcher as you pour. Move the pitcher to create patterns like hearts or rosettas.
2. Texturing Milk for Different Drinks
Different coffee drinks require different milk textures. For a cappuccino, aim for a thick, airy froth. For a latte, create a smoother, creamier microfoam. Adjust your technique and milk amount based on the drink you’re making.
3. Using a Thermometer
A thermometer can help achieve the perfect frothing temperature. Aim for 150°F to avoid overheating the milk and compromising the flavor.
4. Experimenting with Flavored Syrups
Adding flavored syrups to your milk before frothing can create delicious, customized drinks. Vanilla, caramel, and hazelnut are popular choices. Experiment with different flavors to find your favorites.
5. Frothing Milk for Cold Drinks
Cold drinks like iced lattes can also benefit from frothed milk. Use an automatic frother with a cold froth setting or froth the milk manually and let it cool before adding it to your drink.
6. Pairing Milk with Different Espresso Beans
Different espresso beans pair well with different types of milk. Experiment with various bean and milk combinations to enhance the flavors of your coffee. For example, a nutty espresso might pair well with almond milk, while a chocolatey espresso could complement oat milk.
FAQs
How do I know when the milk is frothed properly?
Look for a velvety microfoam with small, uniform bubbles. The milk should have a glossy texture and be free of large bubbles. The volume should have increased, and the milk should pour smoothly.
Can I froth milk without a steam wand?
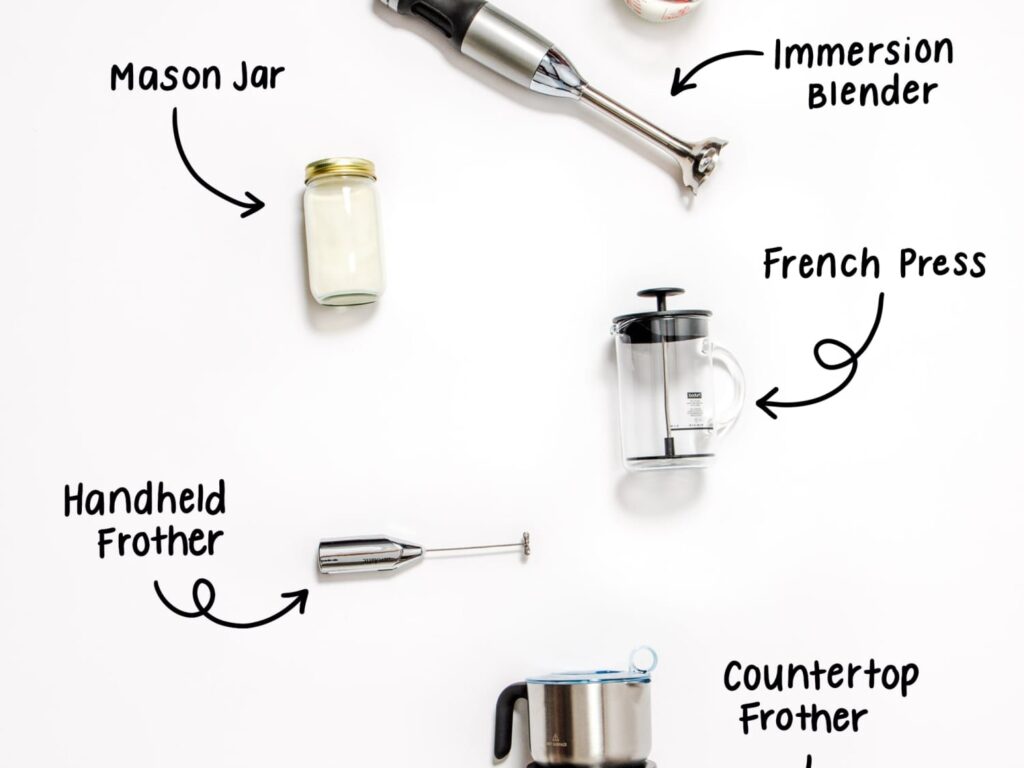
Yes, you can use a handheld frother, an automatic frother, or even a French press to froth milk without a steam wand. Each method has its own steps and can produce good results with practice.
Why does my milk taste burnt?
Burnt-tasting milk is usually a result of overheating. Keep the temperature below 150°F to avoid this issue. Using a thermometer can help you monitor the temperature accurately.
What is the best milk for frothing if I’m lactose intolerant?
Oat milk is a great lactose-free option that froths well and has a creamy texture. Other options include soy and almond milk, though results may vary.
Can I re-froth leftover milk?
It’s not recommended to re-froth leftover milk as it may not froth properly and can affect the taste. Always use fresh milk for the best results.
How can I create latte art with frothed milk?
Use well-frothed milk with a glossy texture. Pour the milk into your espresso in a steady stream, moving the pitcher to create patterns. Practice makes perfect, so don’t be discouraged if it takes a few tries to get it right.
How do I clean my steam wand properly?
Clean your steam wand by wiping it with a damp cloth after each use. Purge the wand by turning on the steam for a few seconds to clear any milk residue. For a deeper clean, soak the wand in a solution of water and a steam wand cleaner.
Can I froth flavored milk?
Yes, you can froth flavored milk. Adding flavored syrups before frothing can infuse the milk with additional taste, creating a delicious and personalized coffee experience.
What should I do if my milk is not frothing well?
Check the freshness of your milk and ensure your equipment is clean. Experiment with different types of milk and frothing techniques to find what works best. Practice consistently to improve your frothing skills.
Conclusion
Mastering the art of frothing milk with your espresso machine can elevate your coffee-making skills and enhance your daily brew. By understanding different frothing techniques, choosing the right milk, and avoiding common mistakes, you can achieve barista-quality froth at home.
Experiment with various methods and milk types to find what works best for you, and soon you’ll be crafting perfect lattes, cappuccinos, and more. With practice and patience, you can transform your home coffee routine into a professional-level experience.
Disclosure: Our blog contains affiliate links to products. We may receive a commission for purchases made through these links. However, this does not impact our reviews and comparisons. We try our best to keep things fair and balanced, in order to help you make the best choice for you.

