The key to making the perfect cup of stovetop espresso lies in the coffee-to-water ratio. Using the right amount of coffee grounds is essential to achieving a balanced flavor. Too little coffee will result in a weak, underwhelming brew, while too much can lead to an overly strong and bitter taste.
By understanding the optimal measurements and following the right techniques, you can ensure a consistently delightful coffee experience. This guide on how much coffee to put in stove top espresso will take you through the essentials, from selecting the right grind to perfecting the brewing process, so you can enjoy a rich and flavorful espresso every time you use your Moka pot.
Understanding Your Stovetop Espresso Maker
Brewing stovetop espresso, also known as Moka pot coffee, is a cherished tradition that brings the rich, robust flavors of espresso into your home without the need for an expensive machine.
Invented in Italy by Alfonso Bialetti in 1933, the Moka pot has become a staple in many kitchens worldwide due to its simplicity and ability to produce strong, flavorful coffee. This classic coffee maker uses steam pressure to push hot water through finely-ground coffee, producing a rich, aromatic brew that is close to traditional espresso.
Invented in Italy by Alfonso Bialetti in 1933, the Moka pot has become a staple in many kitchens worldwide due to its simplicity and ability to produce strong, flavorful coffee. This classic coffee maker uses steam pressure to push hot water through finely-ground coffee, producing a rich, aromatic brew that is close to traditional espresso.

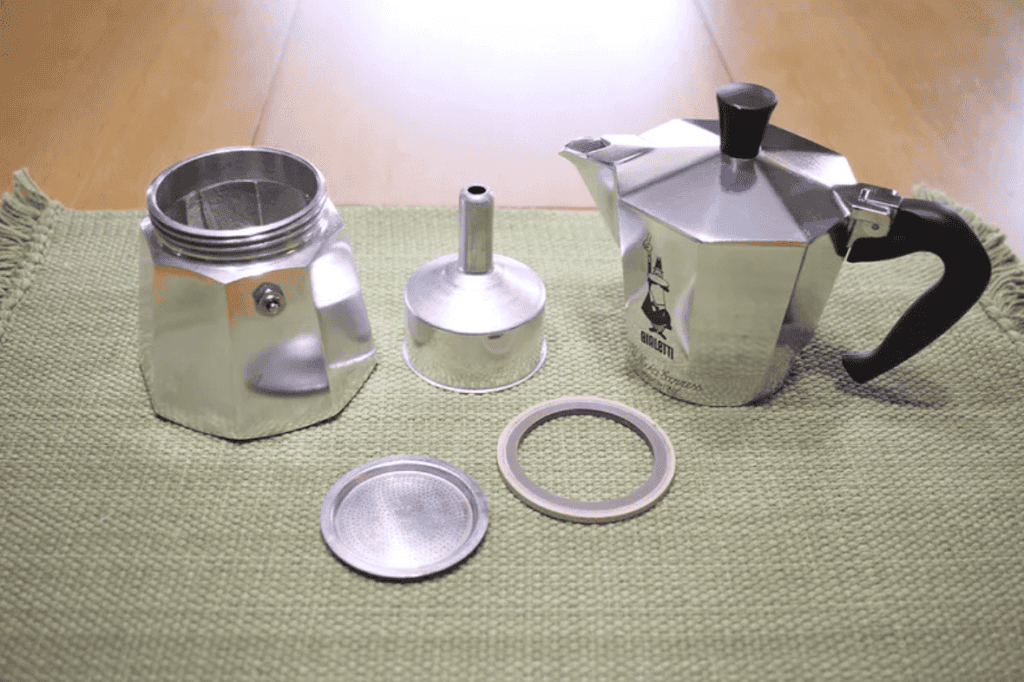
A stovetop espresso maker, commonly known as a Moka pot, consists of three main parts: the base, the filter basket, and the top chamber. Each part plays a crucial role in the brewing process, working together to produce that rich, aromatic coffee.
Parts of a Moka Pot
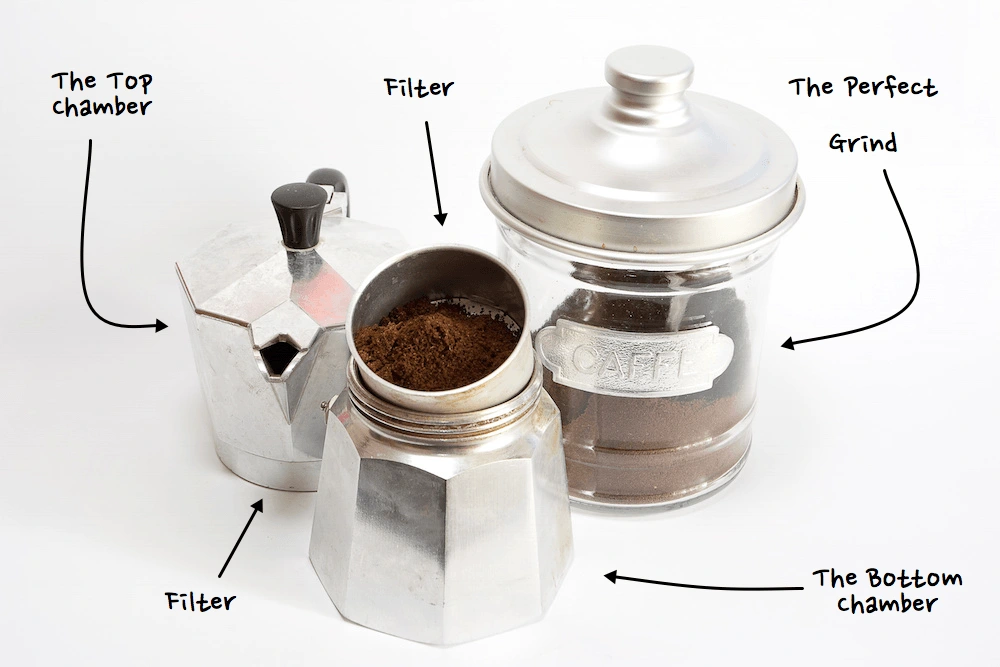
- Base (Bottom Chamber):
- The base is where you pour the water. It has a safety valve to release excess pressure and prevent accidents. The water in the base heats up, creating steam that forces the water through the coffee grounds.
- Filter Basket:
- The filter basket sits above the water chamber and holds the coffee grounds. It’s perforated to allow water to pass through the grounds and extract the coffee.
- Top Chamber (Collector):
- The top chamber is where the brewed coffee ends up. As the steam pressure pushes the hot water through the coffee grounds, the brewed coffee rises and collects here, ready for pouring.
How It Works: Steam Pressure Mechanism
The Moka pot operates on a simple yet effective principle of steam pressure. Here’s a step-by-step breakdown of how it works:
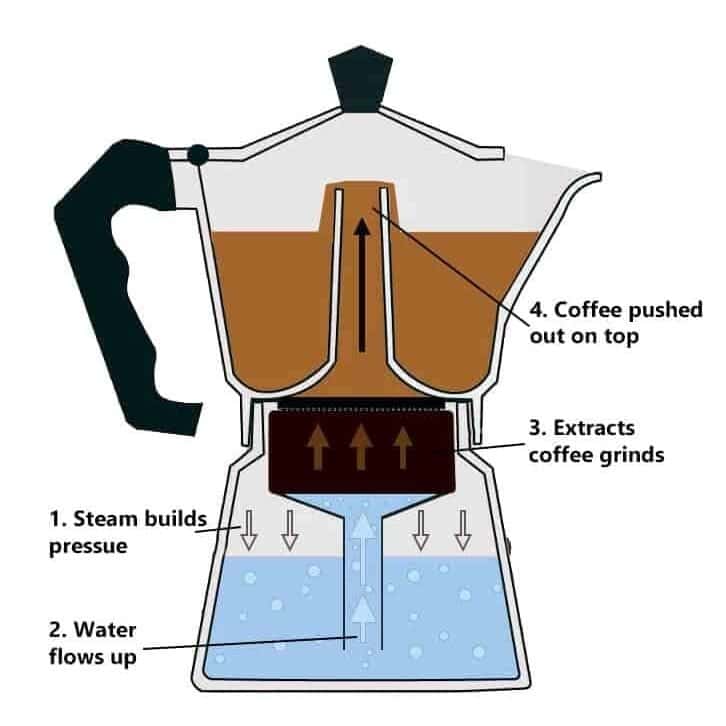
- Heating the Water:
- When the Moka pot is placed on the stove, the water in the base heats up. As it reaches boiling point, it starts to evaporate, creating steam.
- Creating Pressure:
- The steam generated increases the pressure inside the base. Because the only way for the steam to escape is through the coffee grounds in the filter basket, it forces the water upwards.
- Brewing the Coffee:
- The hot water, under pressure, passes through the coffee grounds, extracting flavors and oils. This brewed coffee then travels up through a central column and into the top chamber.
- Collecting the Coffee:
- The coffee continues to percolate until the base is almost empty of water. At this point, you’ll hear a gurgling sound, indicating that the brewing process is complete and the coffee is ready to be served.
Understanding these components and their functions is crucial for mastering the use of a Moka pot. Each part must be correctly assembled and maintained to ensure the pot works efficiently and safely, providing you with a consistently good cup of stovetop espresso.
Choosing the Right Coffee
Selecting the right coffee is essential for making a perfect cup of stovetop espresso with your Moka pot. The type of coffee you choose, along with the grind size, can significantly affect the flavor and quality of your brew.
Types of Coffee Suitable for Moka Pots
For the best results with a Moka pot, use a medium grind. This grind size is slightly coarser than what you’d use for a traditional espresso machine but finer than what’s typically used for drip coffee. A medium grind allows the water to flow through the coffee grounds at the right pace, ensuring proper extraction without over-extraction, which can lead to a bitter taste.
- Medium Grind: The sweet spot for Moka pots, ensuring balanced extraction and optimal flavor.
- Not Too Fine: Avoid using espresso-fine grinds as they can clog the filter and lead to over-extraction.
- Not Too Coarse: Coarse grinds used for French press coffee won’t extract enough flavor and will result in a weak brew.
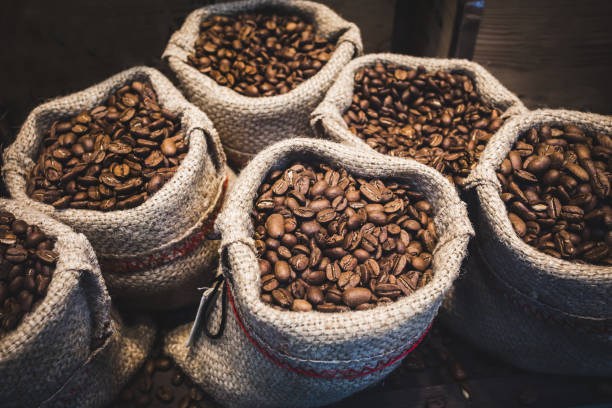
Tips on Selecting Beans
Choosing the right beans is as crucial as getting the grind size correct. Here are some tips for selecting coffee beans for your Moka pot:
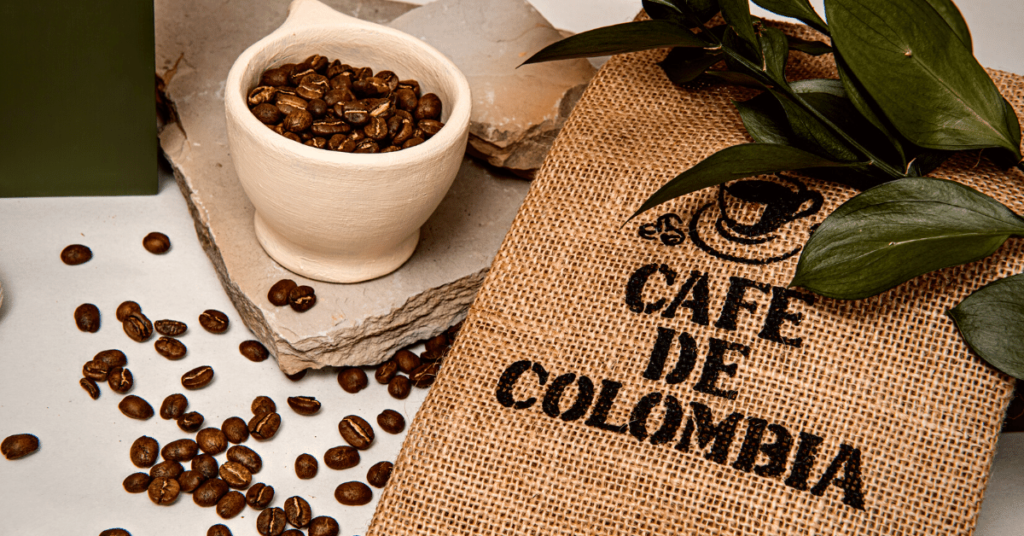
- Dark Roast for Richer Flavor:
- Dark roast beans are often preferred for Moka pots because they offer a richer, more robust flavor profile. These beans are roasted longer, which brings out deeper, more intense flavors that are well-suited to the strong brew a Moka pot produces.
- Freshness Matters:
- Always use freshly roasted beans if possible. Fresh beans retain more of their natural oils and flavors, which are essential for a rich and aromatic cup of coffee. Check the roast date on the packaging and aim to use beans within a few weeks of roasting for the best results.
- Experiment with Blends:
- Don’t be afraid to experiment with different blends to find the flavor profile that suits your taste. Many coffee enthusiasts enjoy blends specifically designed for espresso or Moka pots, which combine beans from different regions to create a balanced, complex flavor.
- Grind Just Before Brewing:
- For the freshest taste, grind your beans just before brewing. Investing in a good-quality burr grinder will help you achieve the consistent medium grind needed for a Moka pot. Pre-ground coffee can work in a pinch, but it’s often less fresh and may not have the ideal grind size.
Step-by-Step Brewing Process
Making stovetop espresso with a Moka pot is straightforward but requires attention to detail. Follow these steps to ensure a perfect brew every time.
Preparing the Moka Pot
- Disassemble the Moka Pot:
- Start by taking apart the Moka pot. It consists of three main parts: the base (bottom chamber), the filter basket, and the top chamber.
- Check for Cleanliness:
- Ensure all parts are clean and dry. Any leftover coffee grounds or water can affect the taste of your brew.
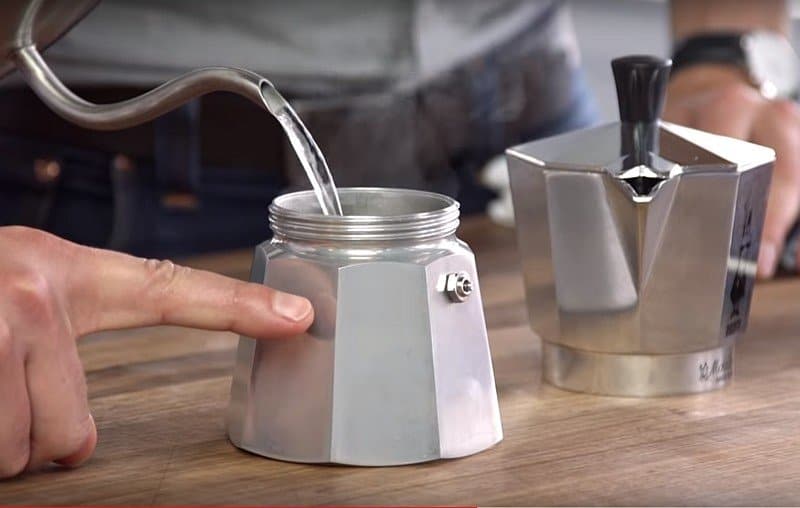
Filling the Base with Water
- Add Water to the Base:
- Fill the base chamber with water up to the level of the safety valve. Do not cover or exceed the valve. Using cold water is common, but starting with hot water can reduce the metallic taste sometimes caused by prolonged heating of the pot.
- Filtered Water:
- For the best flavor, use filtered water to avoid any impurities that might affect the taste of your coffe.
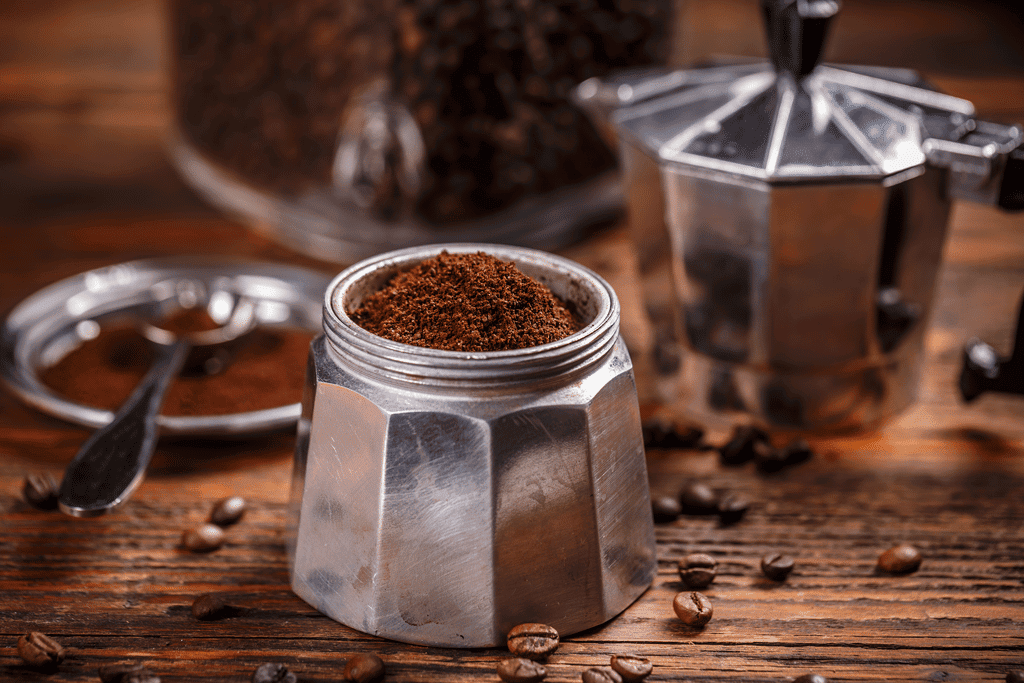
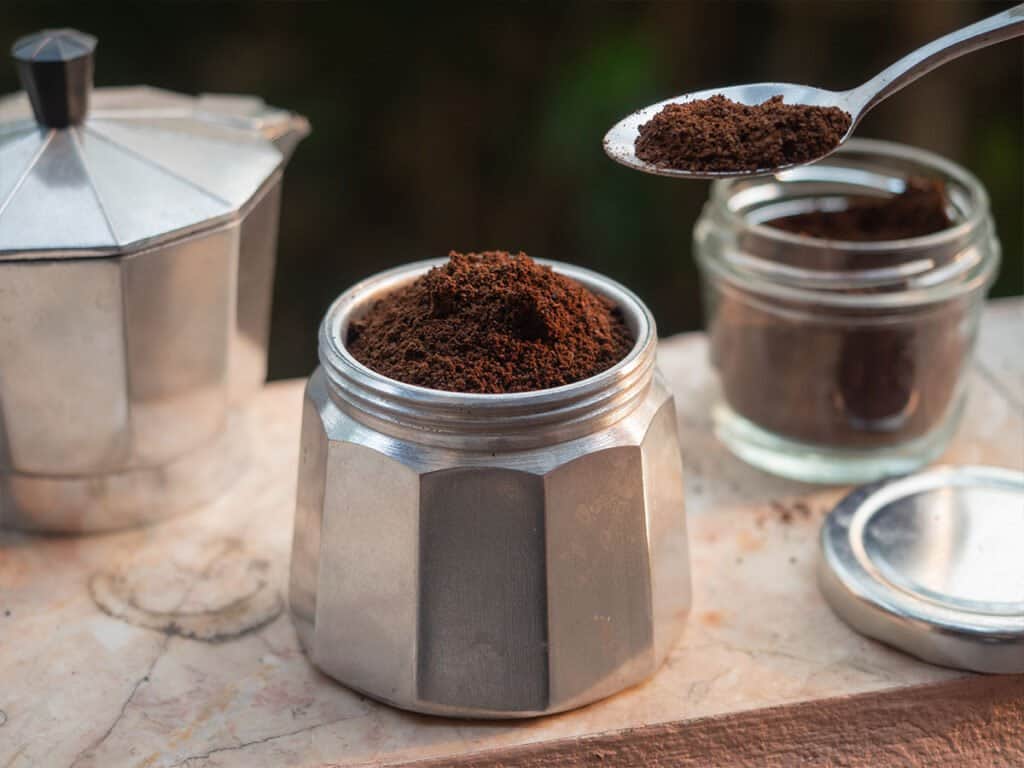
Adding Coffee to the Filter Basket
- Measure the Coffee:
- Measure out the coffee grounds according to the size of your Moka pot. For example, a 6-cup Moka pot typically requires about 20 grams of coffee.
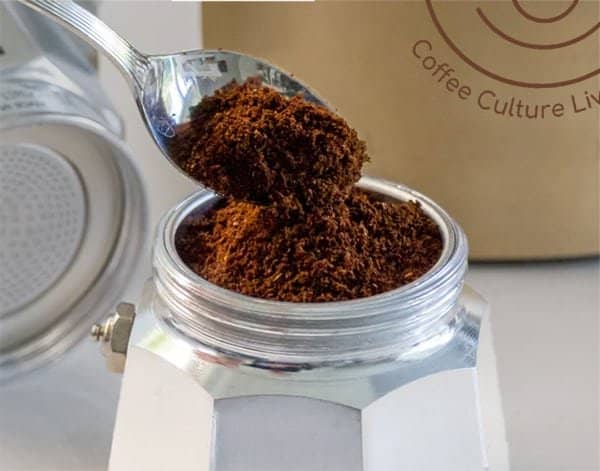
- Fill the Filter Basket:
- Fill the filter basket with the measured coffee grounds. Level the coffee with your finger or the back of a spoon, but do not tamp it down. Tamping can cause over-extraction and might clog the filter.

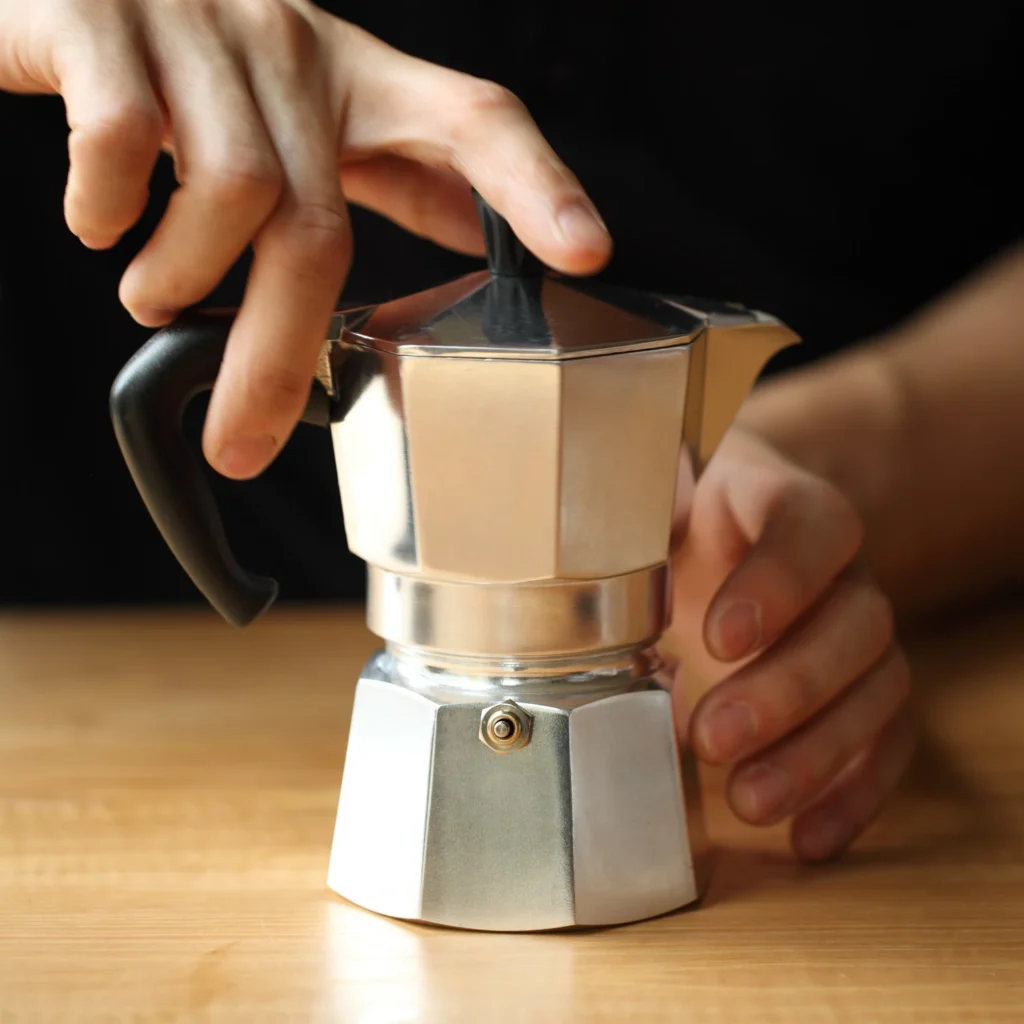
Assembling and Heating the Moka Pot
- Assemble the Moka Pot:
- Place the filter basket into the base. Ensure there are no coffee grounds on the rim of the base as this can prevent a proper seal. Screw the top chamber onto the base tightly but without forcing it.
- Heat the Moka Pot:
- Place the Moka pot on the stove over medium heat. The heat should be just enough to slowly bring the water to a boil, creating steam that will push through the coffee grounds. If the heat is too high, the coffee may brew too quickly, resulting in a bitter taste.
- Monitor the Brewing:
- Listen for the characteristic gurgling sound, indicating that the coffee is percolating through the filter and filling the top chamber. Once you hear this sound consistently, reduce the heat slightly to prevent boiling the coffee.
- Finish Brewing:
- When you hear a hissing or spitting sound, it means the water in the base has been exhausted. Remove the Moka pot from the heat immediately to prevent burning the coffee. Let it sit for a moment before serving to allow the brewing process to complete fully.
Tips for Perfecting Your Brew
Even with a straightforward process like using a Moka pot, a few key tips can make a significant difference in the quality of your espresso. Here are some expert tips to help you get the best possible brew every time.
Using Filtered Water to Avoid Mineral Build-Up: Using filtered water is crucial for both the taste of your coffee and the longevity of your Moka pot. Tap water often contains minerals that can build up inside the pot over time, affecting both the flavor of the coffee and the functionality of the pot.
- Improved Taste: Filtered water removes impurities that can negatively impact the flavor of your coffee, allowing the true taste of the coffee beans to shine through.
- Maintenance: Regular use of filtered water helps prevent mineral deposits, which can clog the pot and require frequent cleaning. This ensures your Moka pot continues to function properly and lasts longer.
Starting with Hot Water to Reduce Brewing Time and Prevent Metallic Taste: Starting with hot water instead of cold can improve the taste of your stovetop espresso and speed up the brewing process.
- Reduced Brewing Time: Using hot water reduces the amount of time the pot needs to be on the stove, which helps in avoiding overheating and burning the coffee grounds. This results in a cleaner, more balanced flavor.
- Prevents Metallic Taste: Heating the pot with cold water can cause the metal to heat unevenly, sometimes imparting a metallic taste to the coffee. Starting with hot water minimizes this risk and ensures a smoother brew.
Experimenting with Coffee Types and Grind Sizes: One of the joys of using a Moka pot is the ability to experiment with different types of coffee beans and grind sizes to find what suits your taste best.
- Types of Beans: While dark roast beans are often recommended for their rich, robust flavors, don’t hesitate to try medium or even light roasts. Each type offers a different taste profile and can bring new dimensions to your espresso.
- Grind Size: The standard medium grind is ideal for Moka pots, but slight adjustments can be made to suit your preference. A slightly finer grind can increase the intensity of the flavor, while a slightly coarser grind can make the coffee smoother and less bitter. Experiment to find the perfect balance for your palate.
Enhancing Your Stovetop Espresso Experience
Once you’ve mastered the basics of brewing stovetop espresso with a Moka pot, you can enhance your coffee experience in several ways. Here are a few creative serving suggestions and tips for maintaining your Moka pot to ensure it lasts for years.
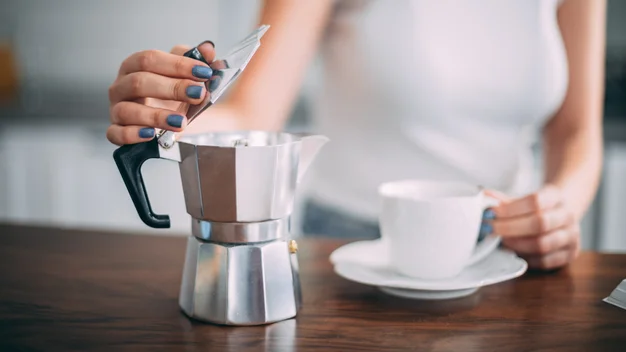
Creative Serving Suggestions
- Caffè Macchiato:
- A simple yet delicious variation is to make a caffè macchiato. Simply add a small amount of foamed milk to your espresso. You can foam milk using a handheld frother or a milk foaming mug.
- Cappuccino:
- For a richer coffee experience, turn your stovetop espresso into a cappuccino. Combine equal parts of espresso, steamed milk, and milk foam. Top with a sprinkle of cocoa powder or cinnamon for an extra touch of flavor.
- Mocha:
- To create a homemade mocha, add a teaspoon of cocoa powder and a bit of sugar to your espresso. Stir until dissolved, then top with steamed milk and a dollop of whipped cream. This sweet treat is perfect for a cozy afternoon pick-me-up.
Cleaning and Maintaining Your Moka Pot
Proper maintenance of your Moka pot is essential to ensure it continues to brew great coffee and lasts a long time.
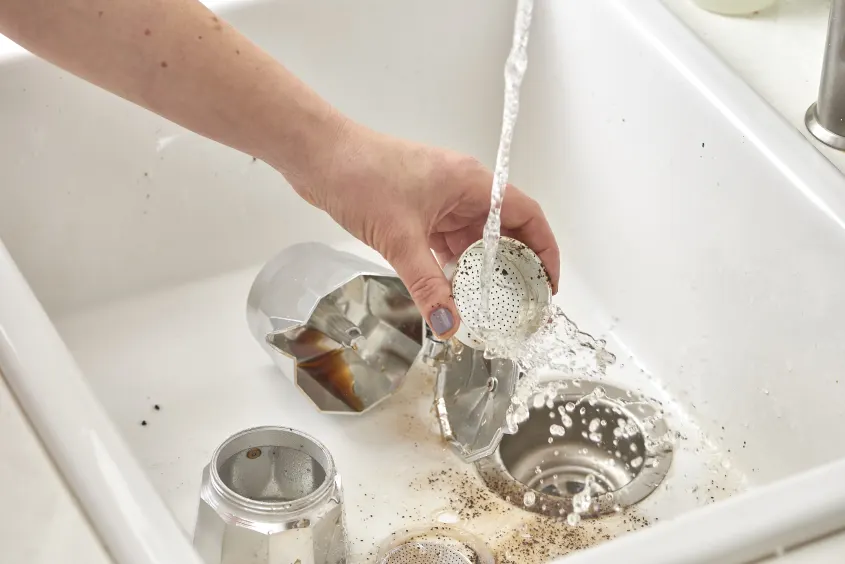
- Regular Cleaning:
- After each use, disassemble the Moka pot and rinse all parts with warm water. Avoid using soap as it can leave a residue that affects the taste of your coffee. Ensure all parts are completely dry before reassembling.
- Deep Cleaning:
- Periodically, you should perform a deeper clean to remove any coffee oils or mineral build-up. Soak the components in a solution of equal parts water and vinegar, then rinse thoroughly. This helps maintain the pot’s functionality and ensures a clean, pure taste in every brew.
- Inspect the Gasket:
- Check the rubber gasket regularly for wear and tear. If it becomes cracked or brittle, replace it to maintain a good seal and proper pressure during brewing. Replacement gaskets are inexpensive and easy to find online or at kitchen supply stores.
Conclusion
Brewing stovetop espresso with a Moka pot is a rewarding process that combines simplicity with rich, robust flavors. To recap the key points:
- Choosing the Right Coffee: Opt for a medium grind and consider using dark roast beans for a richer flavor. Freshly ground beans are ideal for the best taste.
- Measuring the Coffee: Use the correct amount of coffee for your Moka pot size to ensure a balanced brew. For example, a 6-cup Moka pot requires about 20 grams of coffee.
- Brewing Process: Fill the base with water up to the safety valve, fill the filter basket with leveled coffee grounds, assemble the pot, and heat it gently to allow for proper extraction.
- Perfecting Your Brew: Use filtered water to avoid mineral build-up, start with hot water to reduce brewing time, and experiment with different coffee types and grind sizes to find your perfect brew.
- Enhancing Your Experience: Try creative serving suggestions like making a caffè macchiato or cappuccino, and maintain your Moka pot with regular cleaning to ensure it lasts.
Experimenting with different beans, grind sizes, and brewing techniques will help you refine your process and enjoy the full range of flavors that stovetop espresso can offer. Happy brewing, and enjoy every cup!
Disclosure: Our blog contains affiliate links to products. We may receive a commission for purchases made through these links. However, this does not impact our reviews and comparisons. We try our best to keep things fair and balanced, in order to help you make the best choice for you.