

Hey coffee lovers! We all adore that perfect cup of espresso to kickstart our day, but did you know that your espresso machine needs a little TLC to keep brewing that magic? Descaling is a crucial part of espresso machine maintenance that often gets overlooked. Regular descaling not only maintains your machine’s performance but also preserves the rich, authentic flavor of your coffee.
If you’re wondering how to descale an espresso machine and why it’s important, you’re in the right place. In this guide, we’ll walk you through everything you need to know on how to descale espresso machine, ensuring it stays in top-notch condition and continues to deliver that rich, aromatic espresso you crave.
Why Descale Your Espresso Machine?
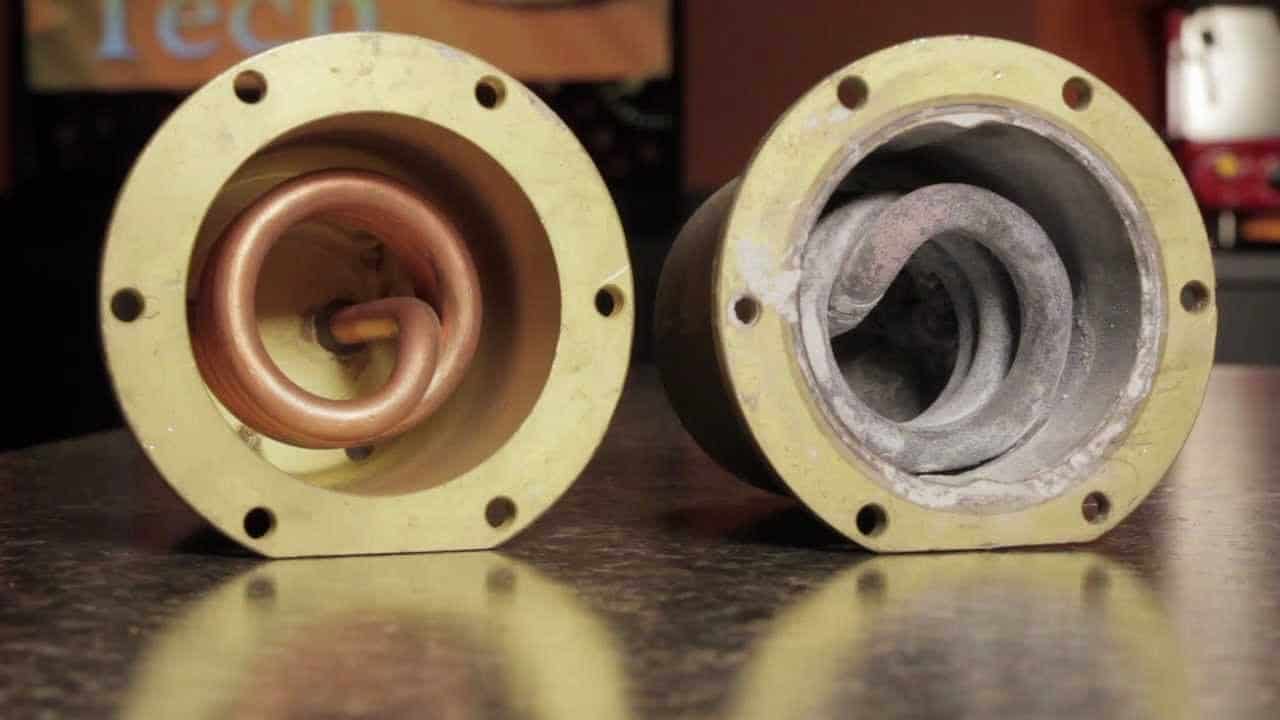
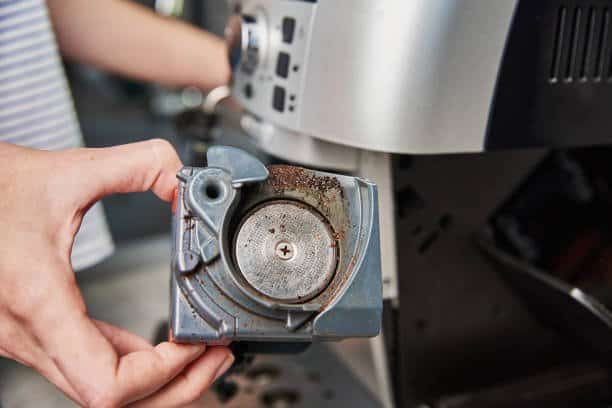
Ever wondered why your espresso doesn’t taste as good as it used to? The culprit might be scale buildup. Scale, primarily composed of minerals from water, accumulates in your espresso machine over time. This buildup can clog the internal components, reducing water flow and heating efficiency. As a result, your machine has to work harder, leading to inconsistent water temperatures and, ultimately, poorer coffee quality.
Regular descaling ensures your machine runs smoothly, delivering that perfect cup of coffee every time. Plus, it extends the lifespan of your machine, saving you money in the long run. Understanding how to descale your espresso machine is essential for maintaining both the performance of the machine and the flavor of your coffee.

Signs Your Espresso Machine Needs Descaling
Not sure if your espresso machine needs descaling? Here are some telltale signs to watch out for:
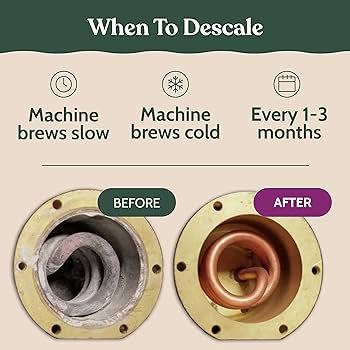
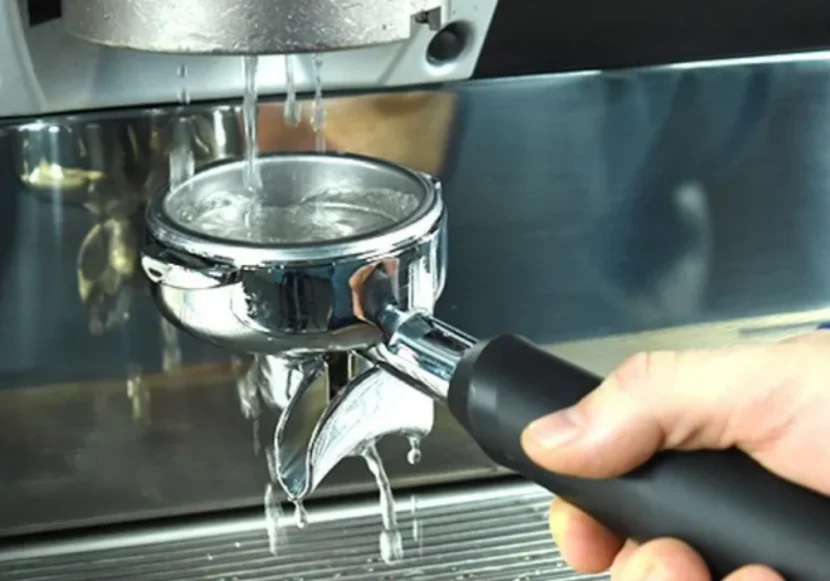
- Slow Water Flow: If your espresso machine is taking longer than usual to brew a shot, it could be due to scale buildup restricting water flow.
- Strange Noises: Unusual sounds, like sputtering or gurgling, might indicate that your machine is struggling to pump water through scale-clogged pipes.
- Off-Tasting Coffee: Noticeable change in the taste of your coffee, such as bitterness or a metallic flavor, can be a sign that scale is affecting the brewing process.
- Temperature Issues: Inconsistent water temperature during brewing can result from scale insulating the heating elements, preventing them from reaching the optimal temperature.
- Maintenance Alerts: Many modern espresso machines have descaling indicators that light up when it’s time for a cleaning.
Choosing the Right Descaling Solution
Selecting the right descaling solution is vital for effectively cleaning your espresso machine without causing damage. Here’s a quick guide to help you choose the best one for your machine:
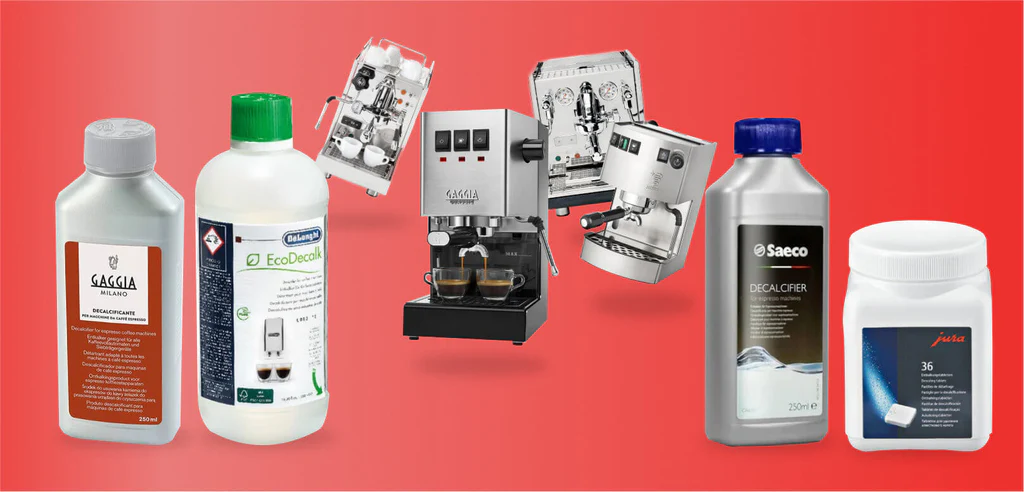
- Commercial Descaling Solutions: These are specially formulated products available from various brands. They are designed to dissolve scale effectively and are safe for use in most espresso machines. Always follow the manufacturer’s recommendations for the best results.
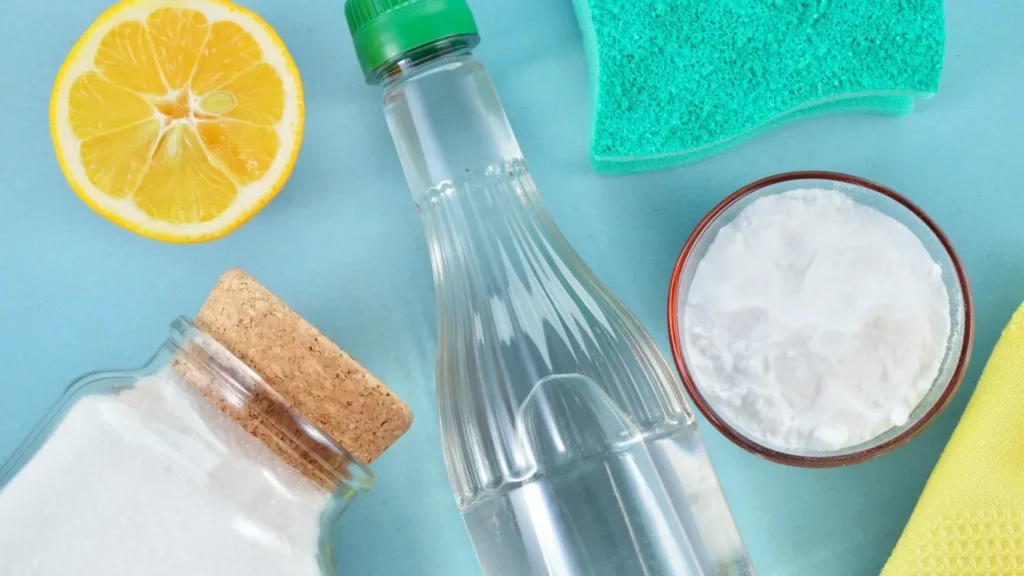
- Vinegar: A popular homemade solution, vinegar is an effective and affordable descaler. However, its strong odor and potential to leave a lingering taste in your machine make it less ideal for some users.
- Citric Acid: Another DIY option, citric acid is less harsh than vinegar and has a milder smell. It’s often used in a diluted form and is effective at removing scale without leaving any residual taste.
- Machine-Specific Descalers: Some espresso machine manufacturers offer their own branded descaling products. These are tailored to work best with their specific machines, ensuring optimal performance and protection.
When choosing a descaling solution, consider the type of machine you have and the level of scale buildup. Always refer to your machine’s user manual for specific recommendations to ensure you’re using a safe and effective product.
DIY Solutions vs. Commercial Descalers
When it comes to descaling your espresso machine, you have the option of using DIY solutions or commercial descalers. Let’s compare these two approaches:
DIY Solutions:
- Vinegar:
- Pros: Inexpensive, readily available, and effective at breaking down scale.
- Cons: Strong odor, potential for a lingering taste, and can be too harsh for some machines.
- Citric Acid:
- Pros: Mild smell, gentle on the machine, and effective at removing scale.
- Cons: Requires proper dilution, and may not be as potent as commercial descalers for heavy buildup.

Commercial Descalers:
- Formulated Products:
- Pros: Specifically designed for descaling, easy to use, and often recommended by machine manufacturers. They usually come with precise instructions tailored to different types of machines.
- Cons: More expensive than DIY solutions and may require purchasing from specific retailers or manufacturers.
- Machine-Specific Descalers:
- Pros: Tailored to work perfectly with specific brands or models, ensuring maximum efficiency and safety.
- Cons: Can be the most expensive option and may only be available through the manufacturer.
Step-by-Step Guide to Descaling
Ready to give your espresso machine the deep clean it deserves? Follow these step-by-step instructions on how to descale your espresso machine:

Preparing Your Machine for Descaling
Before diving into the descaling process, it’s important to properly prepare your espresso machine. Here are the steps to ensure your machine is ready for a thorough clean:
- Turn Off and Unplug:
- Safety first! Make sure your espresso machine is turned off and unplugged from the electrical outlet to avoid any accidents.
- Empty the Water Reservoir:
- Remove the water reservoir from the machine and empty any remaining water. This will make space for the descaling solution you’ll be using.
- Remove Any Water Filters:
- If your machine has a water filter, remove it before descaling. This ensures the descaling solution can flow freely through the system without being obstructed.
- Clear the Drip Tray:
- Take out the drip tray and give it a good clean. This prevents any buildup or residue from interfering with the descaling process.
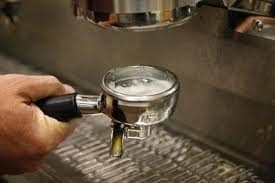
- Check for Coffee Pods or Grounds:
- Make sure there are no coffee pods or grounds in the machine. Remove any that you find to avoid clogging during the descaling process.
- Gather Necessary Supplies:
- Ensure you have all the supplies you need, whether you’re using a commercial descaling solution or a DIY mix. Have a clean cloth or sponge ready for cleaning the machine’s exterior as well.
Conducting the Descaling Process
Now that your machine is prepared, it’s time to dive into the descaling process. Follow these detailed steps to effectively descale your espresso machine:
- Mix the Descaling Solution:
- Prepare the descaling solution according to the instructions. For commercial descalers, follow the package directions. For a DIY solution, mix equal parts water and vinegar or dissolve two tablespoons of citric acid in a liter of water.
- Fill the Water Reservoir:
- Pour the prepared descaling solution into the machine’s water reservoir. Ensure the reservoir is properly seated in the machine.
- Start the Descaling Cycle:
- Turn on your espresso machine and initiate the descaling cycle. If your machine doesn’t have a dedicated descaling mode, start a regular brew cycle without inserting any coffee grounds or pods.
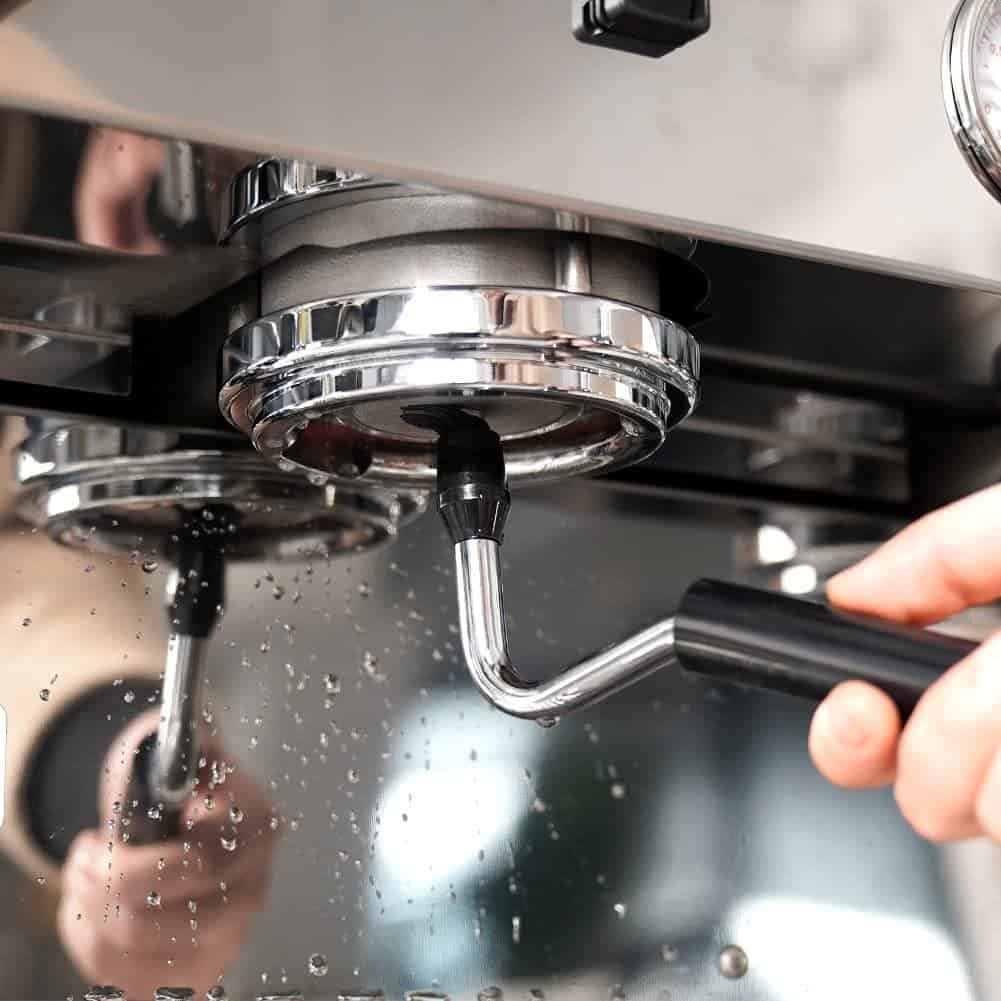
- Run the Solution Through the Machine:
- Allow the descaling solution to run through the machine, ensuring it flows through all parts, including the steam wand if applicable. This helps dissolve and flush out the scale buildup.
- Pause and Soak:
- About halfway through the descaling cycle, pause the machine and let it sit for 15-20 minutes. This soaking period allows the descaling solution to penetrate and break down any stubborn scale deposits.
- Complete the Cycle:
- After the soaking period, resume the descaling cycle and let the rest of the solution run through the machine.
- Rinse Thoroughly:
- Once the descaling cycle is complete, empty the water reservoir and rinse it thoroughly. Refill it with fresh, clean water.
- Run several brew cycles with plain water to flush out any remaining descaling solution. This step is crucial to ensure no residual solution affects the taste of your coffee.
- Clean the Exterior:
- While the machine is running the rinse cycles, take the opportunity to clean the exterior surfaces with a damp cloth or sponge. Wipe down all removable parts and reassemble them once they’re dry.
Finishing Up and Reassembling
After you’ve completed the descaling process, it’s essential to finish up properly and reassemble your espresso machine. Follow these steps to ensure everything is in perfect working order:
- Final Rinse:
- Once the descaling solution has been flushed out, fill the water reservoir with clean water again. Run one or two more cycles to ensure no descaling solution remains in the system.
- Dry and Clean Components:
- Remove the water reservoir, drip tray, and any other removable parts. Clean them thoroughly with warm, soapy water and rinse well. Allow all components to dry completely before reassembling.
- Reinstall the Water Filter:
- If your machine uses a water filter, reinstall it according to the manufacturer’s instructions. This ensures your machine continues to deliver great-tasting espresso with every brew.
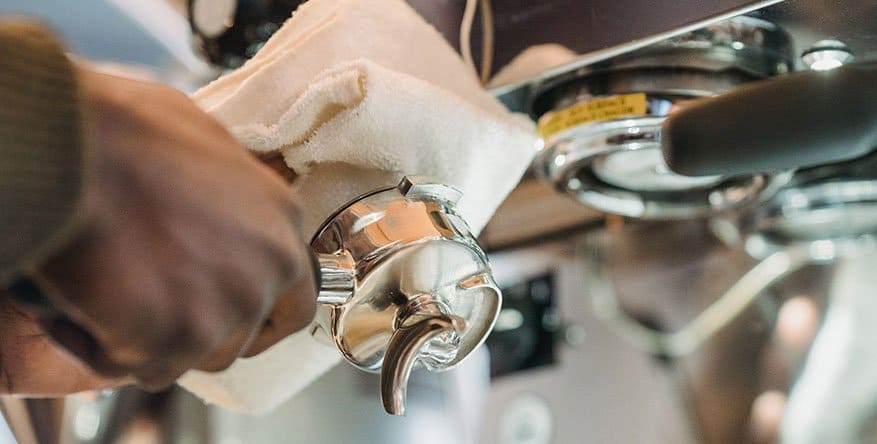
- Wipe Down the Machine:
- Use a damp cloth to wipe down the exterior of the machine, removing any residual cleaning solution or coffee grounds. Pay special attention to the steam wand and any nooks and crannies where buildup might occur.
- Reassemble the Machine:
- Carefully reassemble all parts, making sure everything fits snugly and securely. Double-check that the water reservoir is properly seated and that all removable components are correctly installed.
- Test the Machine:
- Turn on your machine and run a test brew with plain water. This final step ensures that everything is functioning correctly and that no descaling solution remains in the system.
- Ready for Use:
- Your machine is now clean, reassembled, and ready to brew delicious espresso. Enjoy the enhanced flavor and performance that comes from a well-maintained machine.
Aftercare and Maintenance
Descaling your espresso machine is a crucial step in its upkeep, but regular maintenance is equally important to ensure longevity and optimal performance. Here are some tips to keep your machine in top condition post-descaling:
- Regular Cleaning:
- Clean your machine regularly to prevent buildup. This includes wiping down the exterior, cleaning the drip tray, and removing any coffee grounds or residue from the brew head and portafilter.
- Use Filtered Water:
- Using filtered water can significantly reduce the amount of scale that builds up in your machine. It also improves the taste of your espresso by removing impurities from the water.
- Empty the Water Reservoir:
- When not in use, empty the water reservoir and let it dry. Stagnant water can lead to mineral deposits and affect the performance of your machine.
- Schedule Regular Descaling:
- Follow a regular descaling schedule to keep your machine running smoothly. The frequency depends on the hardness of your water and how often you use your machine. Generally, descaling every 3-6 months is recommended. Knowing how often to descale espresso machine will help maintain its performance.
- Check for Wear and Tear:
- Periodically inspect your machine for signs of wear and tear, such as damaged seals or worn-out parts. Replace any components as needed to prevent leaks and ensure consistent performance.
- Professional Servicing:
- Consider having your machine professionally serviced once a year. A technician can perform a thorough cleaning and check for any underlying issues that might not be apparent during regular maintenance.
- Daily Routines:
- Incorporate simple daily routines like backflushing your machine with water to remove coffee oil buildup and ensuring the steam wand is clean after each use.
Frequently Asked Questions
Disclosure: Our blog contains affiliate links to products. We may receive a commission for purchases made through these links. However, this does not impact our reviews and comparisons. We try our best to keep things fair and balanced, in order to help you make the best choice for you.


2 Responses