
Moka Pot: The Complete Guide to Stovetop Espresso
Moka pot guide to stovetop espresso, covering how it works, brewing tips, and how to get rich, bold coffee at home like an Italian.
Nespresso vs Moka Pot (2025 Comparison Guide)
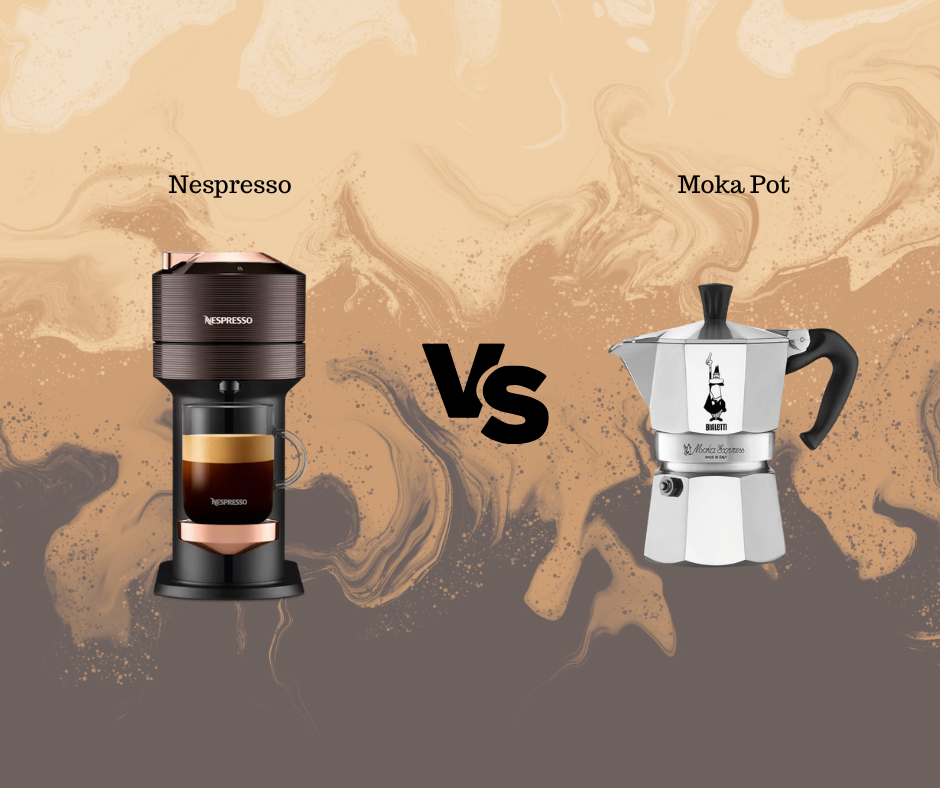
Nespresso vs Moka Pot—compare taste, convenience, cost, and more. Discover which coffee maker is best for your daily routine in this 2025 comparison guide.
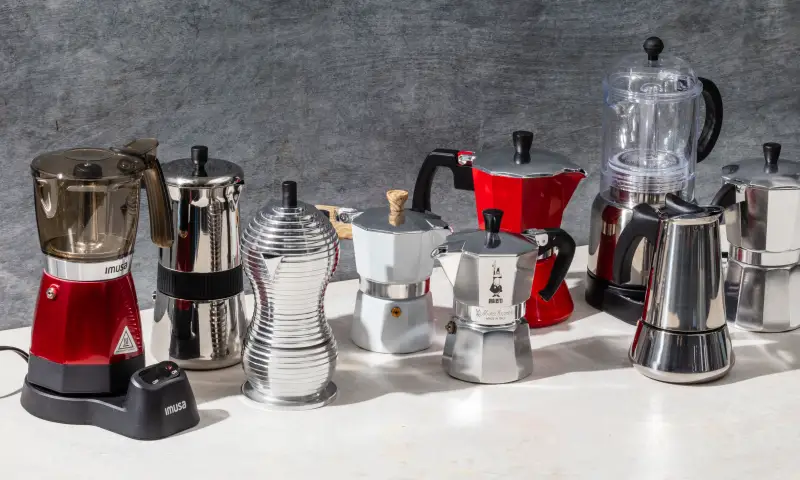
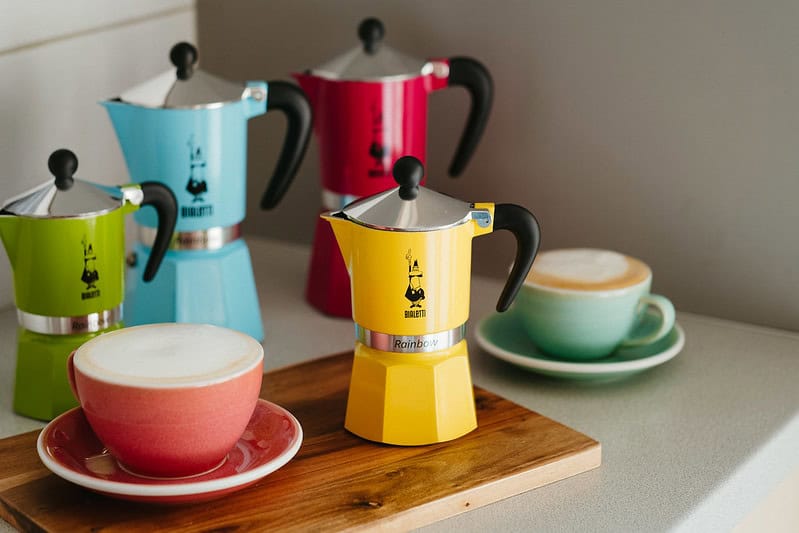
Best Moka Pots in 2024: A Comprehensive Guide
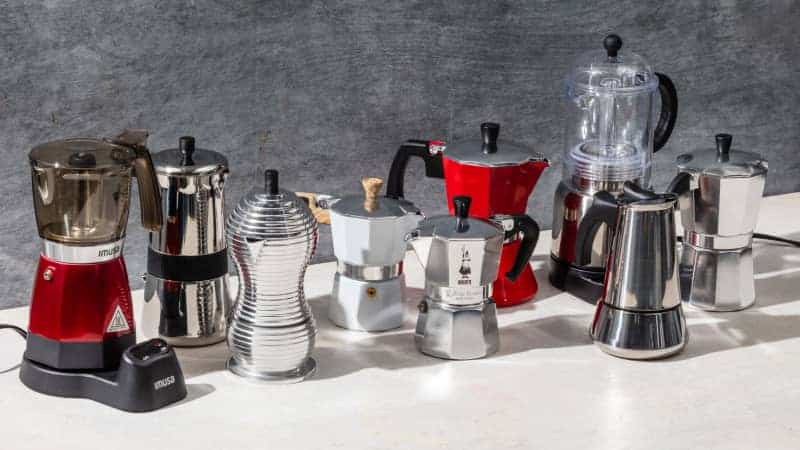
Discover the best moka pots in 2024 with our detailed guide. From the classic Bialetti Moka Express to the premium Alessi 9090, find the perfect moka pot for your coffee needs.
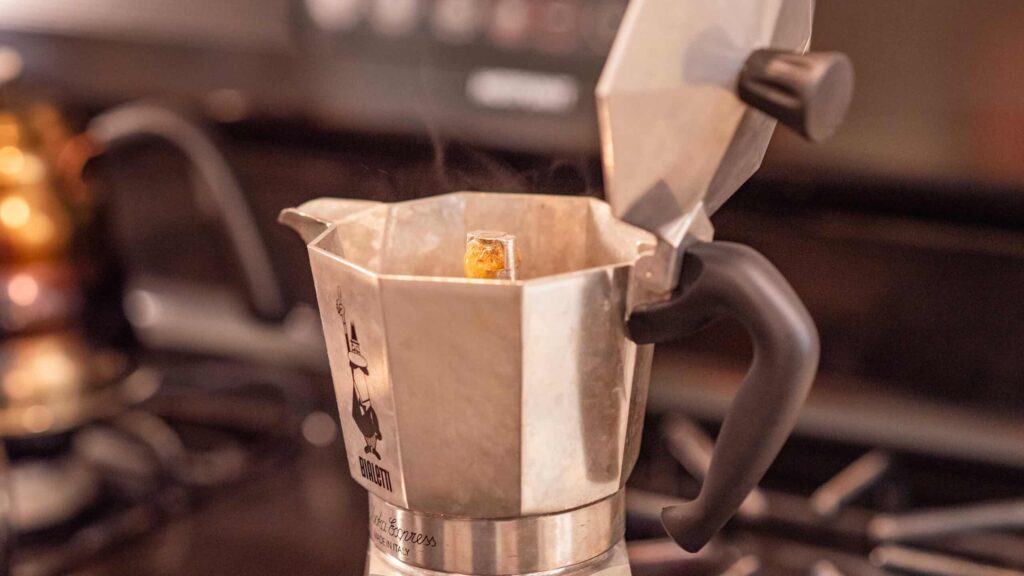
Bialetti Moka Pot: The Timeless Stovetop Espresso Maker

Unlock the secret to perfect espresso with our complete guide to Bialetti Moka Pot—the brand, the myth, the legend. From key features to pro-tips.
Guide to Pezzetti Moka Pots
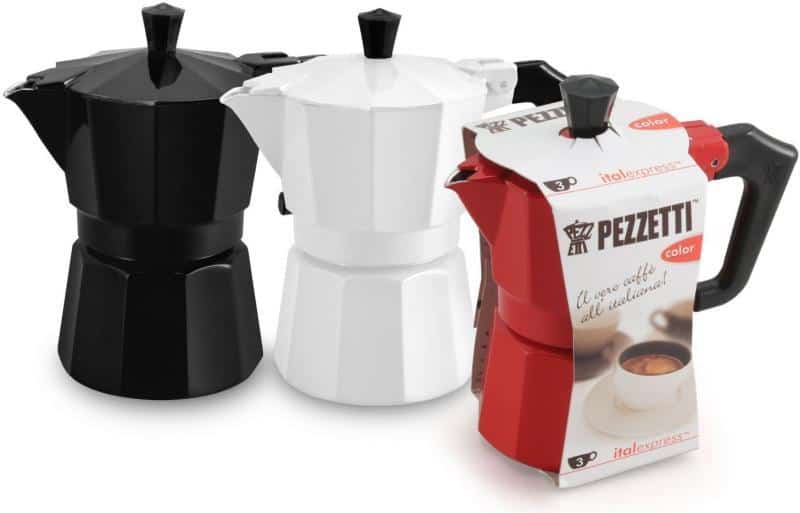
Brew perfection with Pezzetti Moka Pots! Discover Italian craftsmanship and elevate your coffee game.
The Double Chamber Moka Pot: Brewing Coffee with Style
Unlock the secret to heavenly brews with Double Chamber Moka Pot. Discover key features, expert tips, and why it’s the rockstar of coffee brewing.
Moka Pot Retro Design: The Nostalgic Revival
☕ How We Test Ah, the Moka Pot! This iconic coffee maker has been gracing stovetops since the 1930s, bringing a taste of Italy into homes worldwide. With its distinct, octagonal shape and shiny aluminum body, the Moka Pot isn’t just a tool for brewing coffee—it’s a piece of art, a testament to timeless design. […]
Unlock the Full Potential of Your Moka Pot with Pre-Heated Water
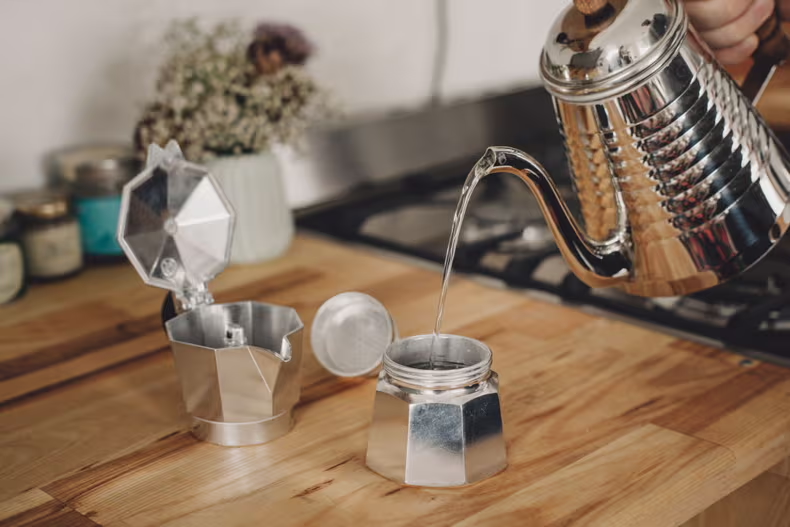
Unlock coffee perfection with our guide! Learn the Moka Pot with Pre-Heated Water trick for a flavor-packed brew.
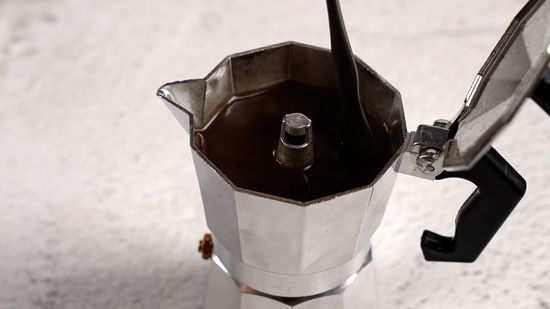
Preventing Moka Pot Overheating: Tips for Perfect Coffee Every Time
Brewing bliss, not blunders! Master the art of brewing coffee and avoid Moka Pot overheating. Tips & tricks await.
Moka Pot Tamping: Why it is Important?

Master Moka Pot Tamping: Unlock rich flavors & perfect brews. Your journey to coffee nirvana starts here!